Start with a small, useful kit
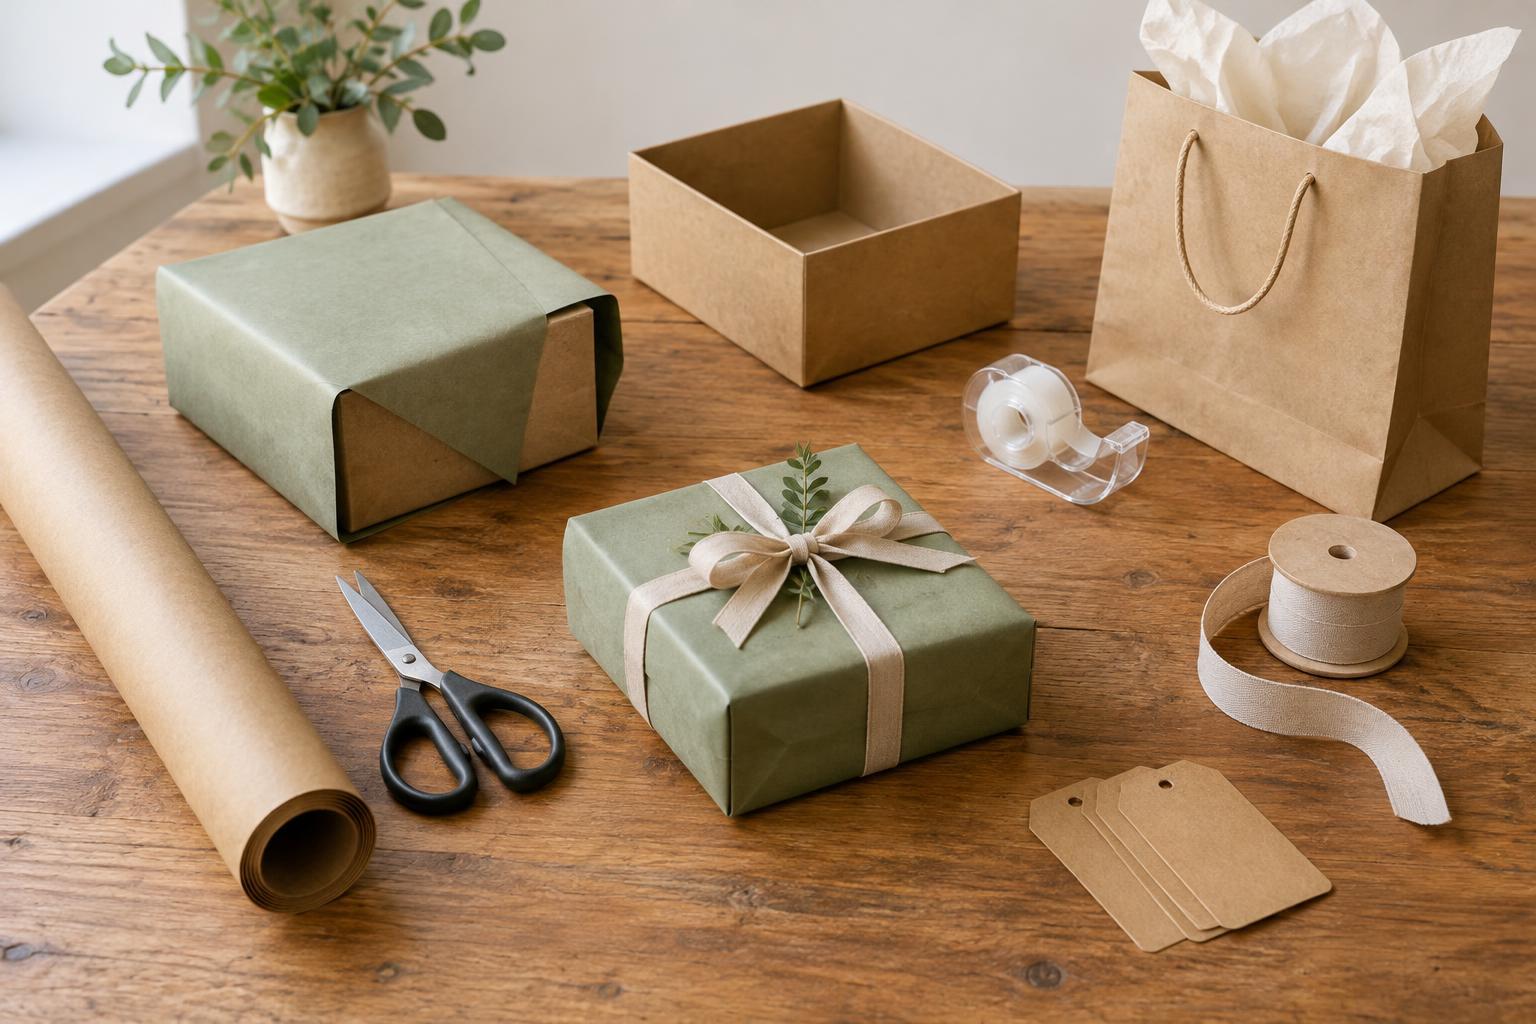
Gift wrapping can look like a hobby that requires a drawer full of supplies, but a beginner can do plenty with wrapping paper, scissors, tape, and something to write a name on. A box or gift bag helps with awkward shapes; tissue paper and ribbon are useful additions rather than essentials. Start with what you already have, then notice which supplies would make your next gift easier to wrap.
Choose a clear work surface where you can lay the paper flat. Sharp scissors make cleaner cuts, while a pen that writes reliably on your tags or paper prevents a last-minute search. If you wrap gifts only occasionally, a small kit is easier to store and use than a collection of materials you have to sort through each time.
Wrapping paper: the outer layer
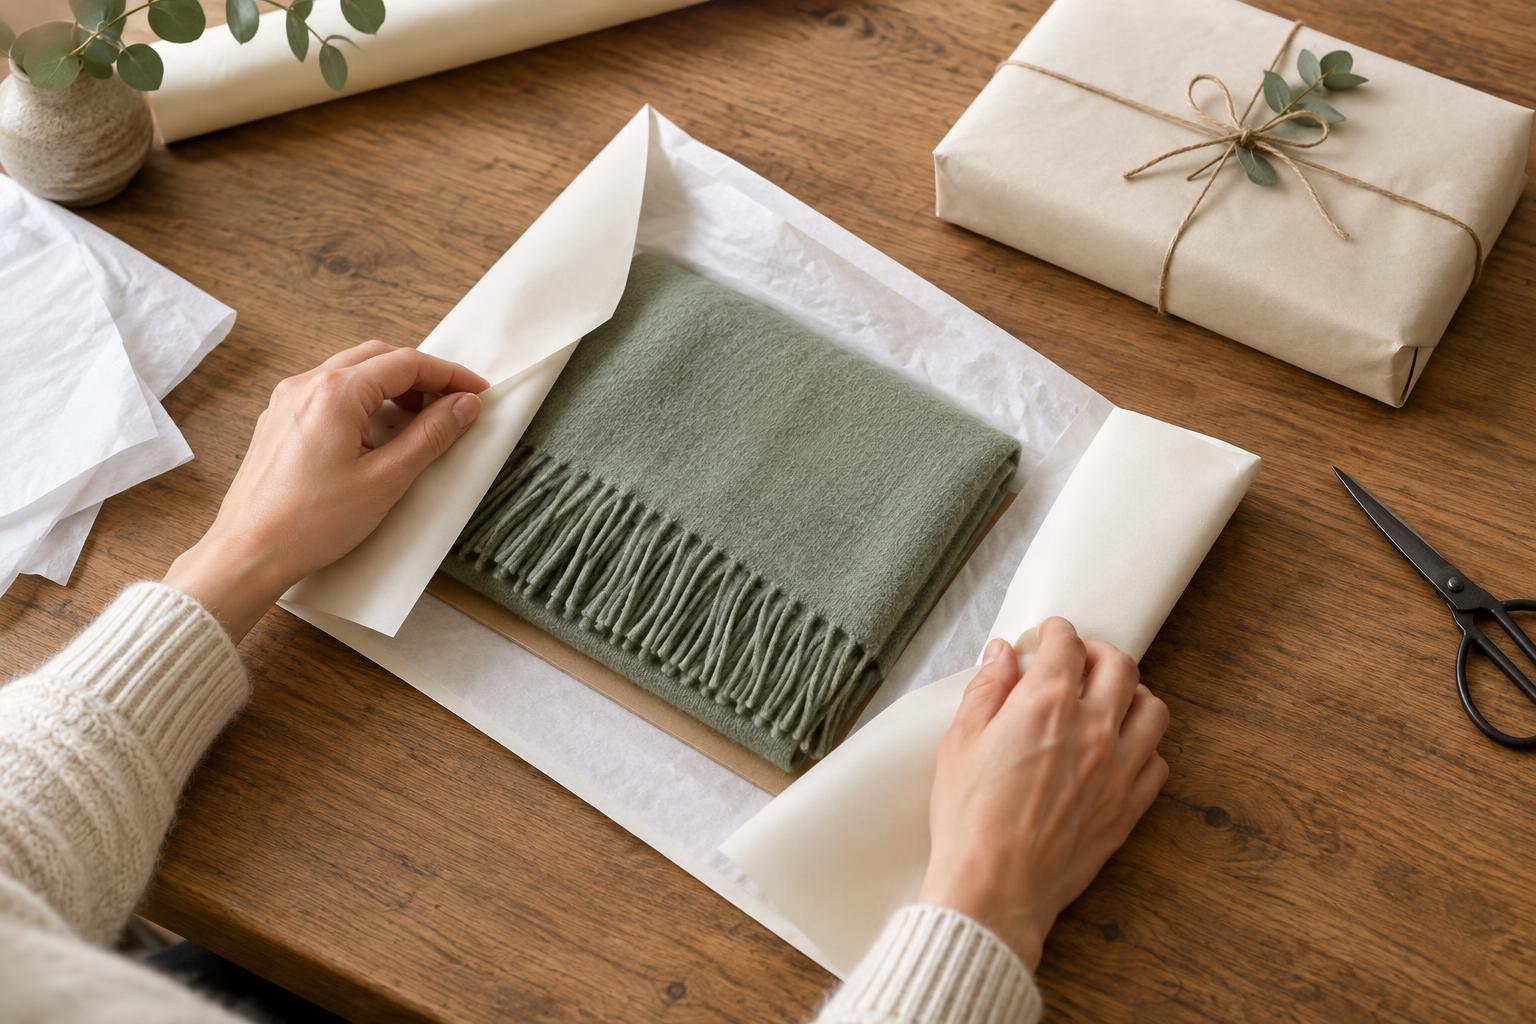
Wrapping paper hides the gift and gives its presentation a finished look. Plain paper is versatile: you can change its mood with ribbon, a tag, or a handwritten message. Patterned paper adds decoration on its own, so it may need nothing more than a name label. Kraft paper, reused paper, and a clean sheet from a paper bag can also work when they are large and sturdy enough for the item.
Before cutting, place the gift on the paper and pull the paper around it to check the fit. You need enough to overlap along one edge and to fold over both ends, but excess paper can bunch up at the corners. Thick paper may hold a crisp fold but resist wrapping a curved object; thin paper bends readily but can tear if pulled too tightly. When the shape is difficult, put the gift in a box or use a bag instead of fighting the paper.
Scissors and tape: the tools that hold it together
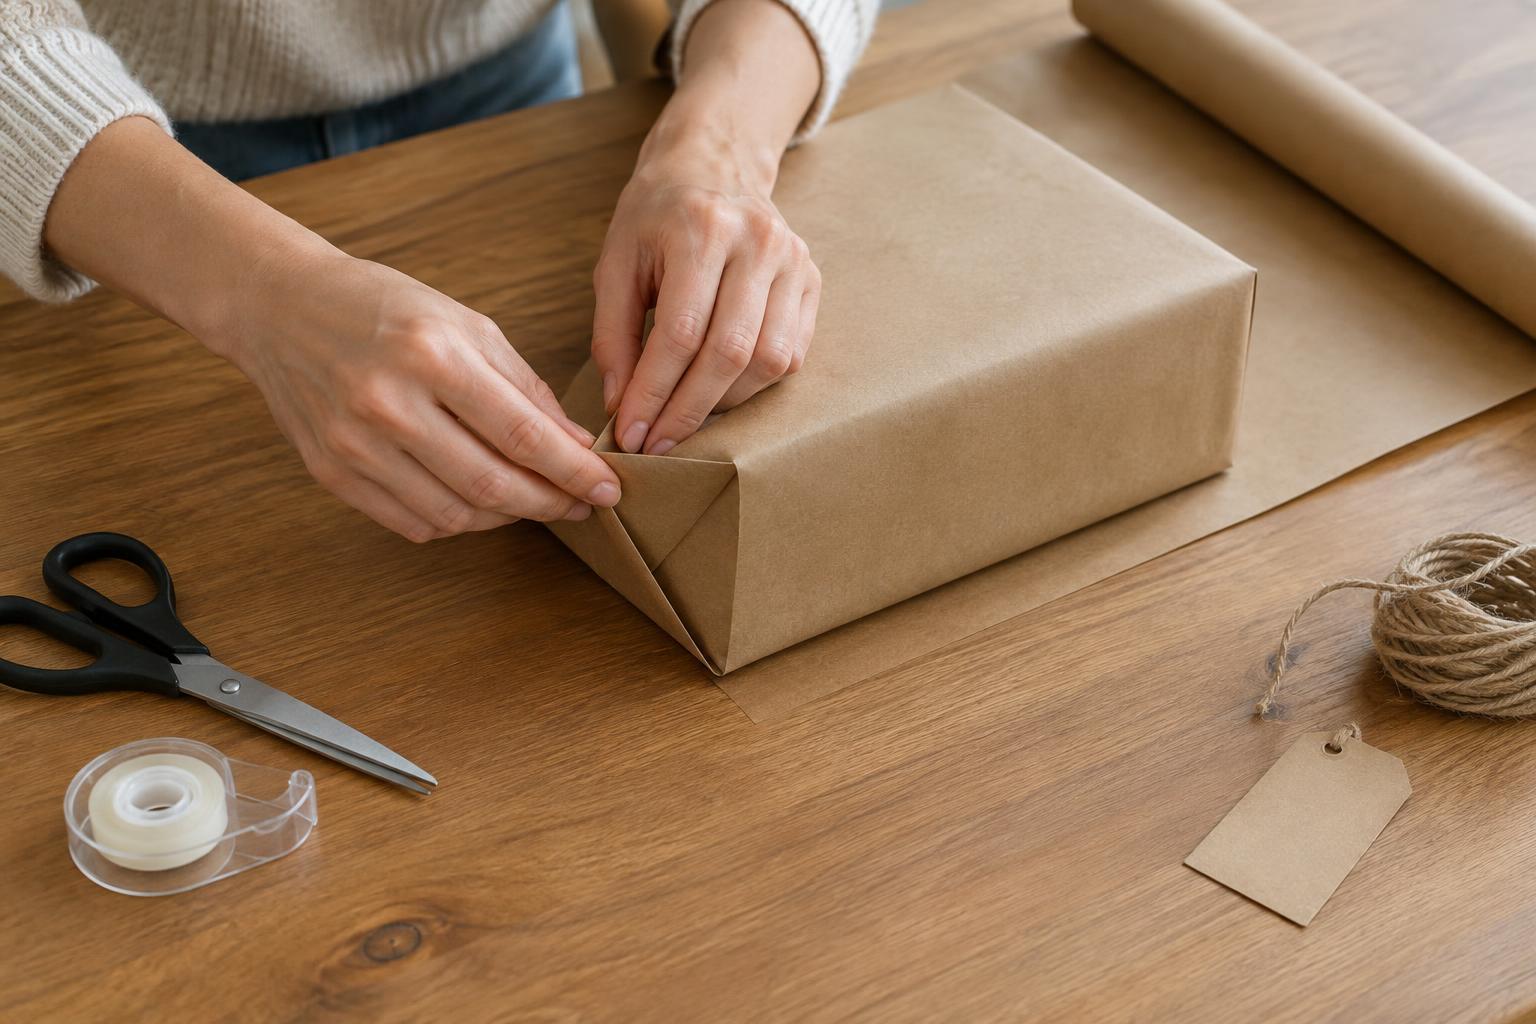
Scissors size the paper, trim ribbon, and tidy uneven edges. A straight cut makes folding simpler, though it does not have to be perfect: the cut edge can often be tucked underneath a folded one. Keep your scissors close while measuring so you can cut only after you know the paper fits.
Tape holds the paper closed. Clear tape is handy when you want the patterned side to remain the focus. Double-sided tape can sit beneath a seam for a less visible finish, but it is optional; neatly placed clear tape does the job. Use a small piece to secure the overlapping edge, then fold the open ends inward and fasten them. If the paper springs open, add another piece rather than pulling the wrap so tight that it tears. Tape works best on paper that is dry and lying flat.
Boxes, bags, and tissue: help for tricky gifts
A box turns an irregular item into a shape that is easier to wrap. It can also keep several small gifts together. Choose one that fits reasonably well, and fill any empty space with tissue paper or other clean cushioning if the contents might shift. The box is part of the presentation, so it is worth checking that it closes comfortably before covering it.
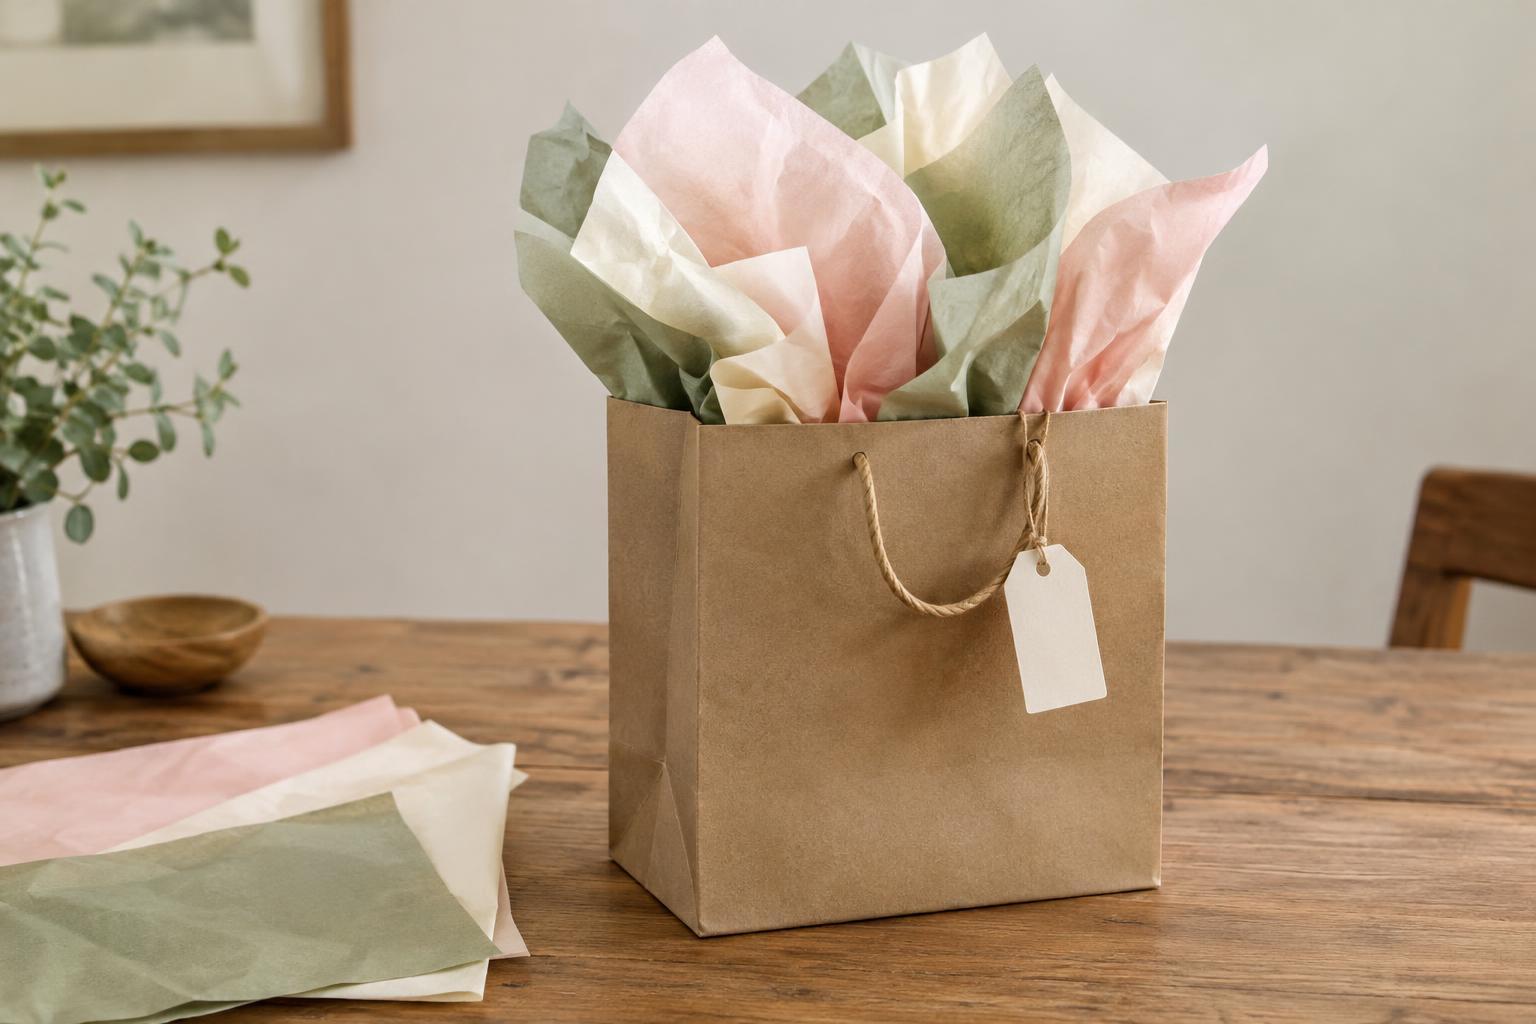
A gift bag is useful when an item is soft, rounded, or hard to fold paper around. Tissue paper can conceal the contents inside the bag and add a soft layer around delicate surfaces. It is not a substitute for protective packaging when an item needs to be transported safely. If you are handing over a gift in person, a simple bag with a sheet or two of tissue may be all the wrapping it needs.
Ribbon and tags: finishing touches with a purpose
Ribbon, string, or twine adds texture and can help keep a tag attached. It is decorative rather than necessary for securing most wrapped boxes. For a simple finish, loop it around the gift once in each direction and tie a bow or knot on top. If a wide ribbon slips on smooth paper, a small piece of tape hidden beneath it can help hold it in place.
A tag tells the recipient who the gift is for and from, especially when several presents will sit together. A plain card tag, a small piece of sturdy paper, or a note written directly on the wrapping can all do the job. Leave room for a short personal message if you like. Once the name is clear and the gift is securely covered, you can stop: thoughtful presentation does not depend on using every supply in the kit.