Start by giving the gift a shape
A soft gift rarely stays in one tidy form while you wrap it. A sweater springs open, a scarf slips sideways, and a plush toy has parts that stick out. Before cutting any paper, decide what shape you want the finished parcel to have. A flat rectangle is easiest for clothing and linens; a loose bundle often suits an irregular item better.
Fold the gift with its thickest parts spread out rather than stacked. For a sweater, fold the sleeves across the back in a single layer, then bring the bottom up. For a scarf, try a long, loose fold followed by one or two shorter folds. Avoid pressing so hard that you crease a fabric that should drape. If the gift has a tag or a delicate detail, tuck it where tape and sharp paper edges will not catch it.
Use tissue to smooth, not squeeze
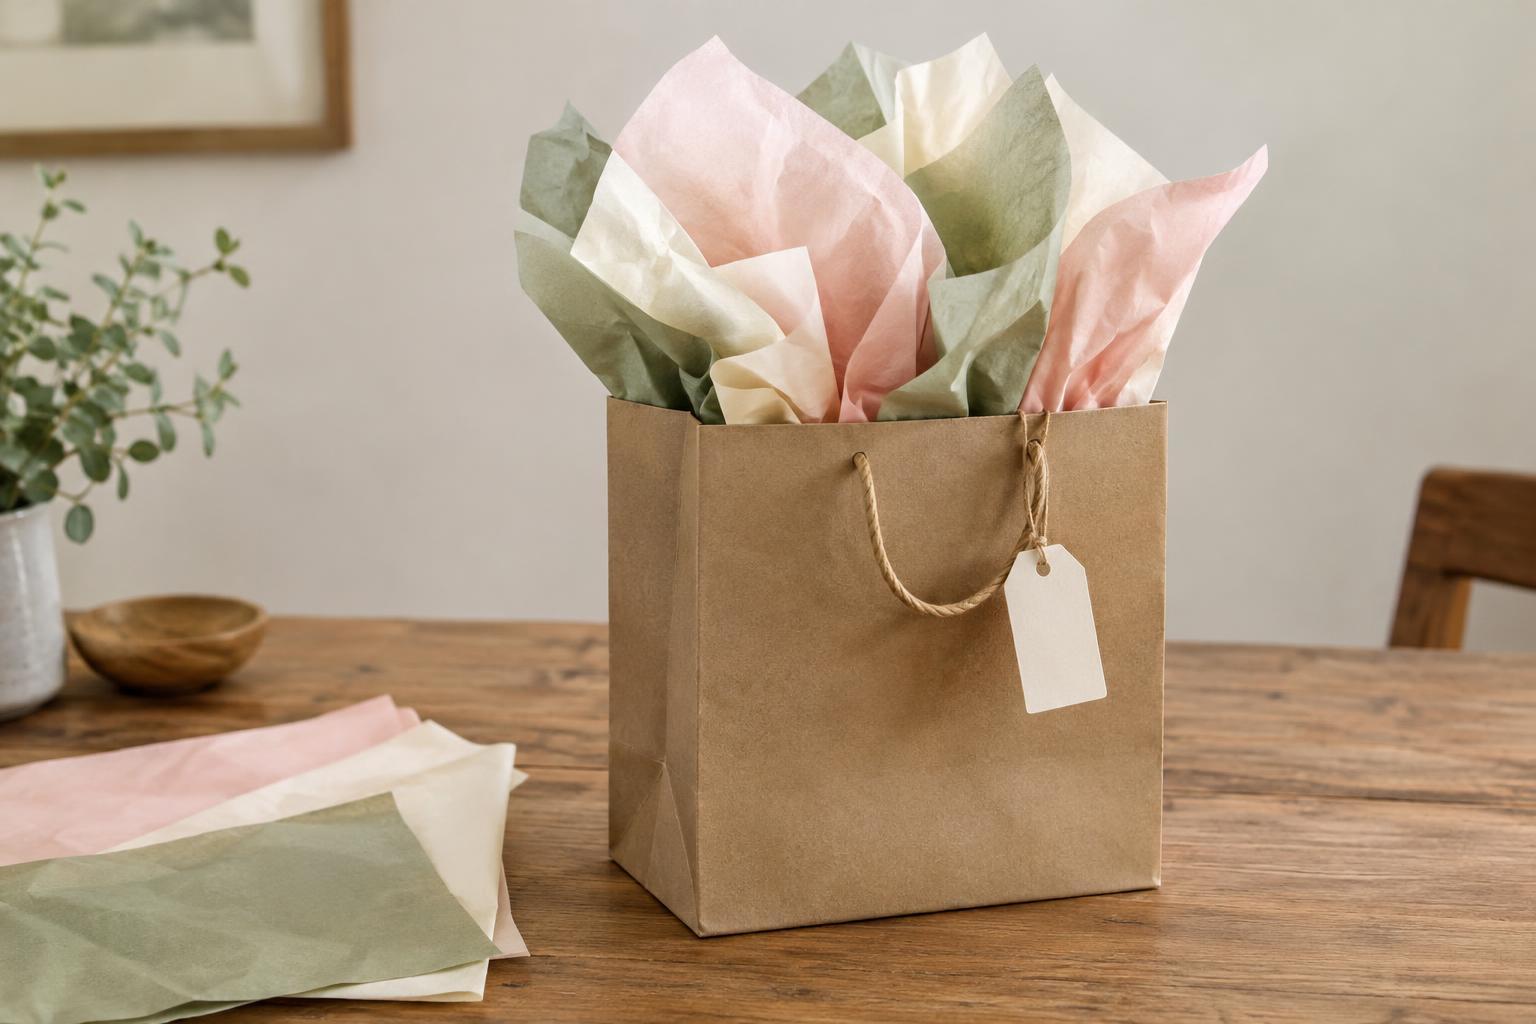
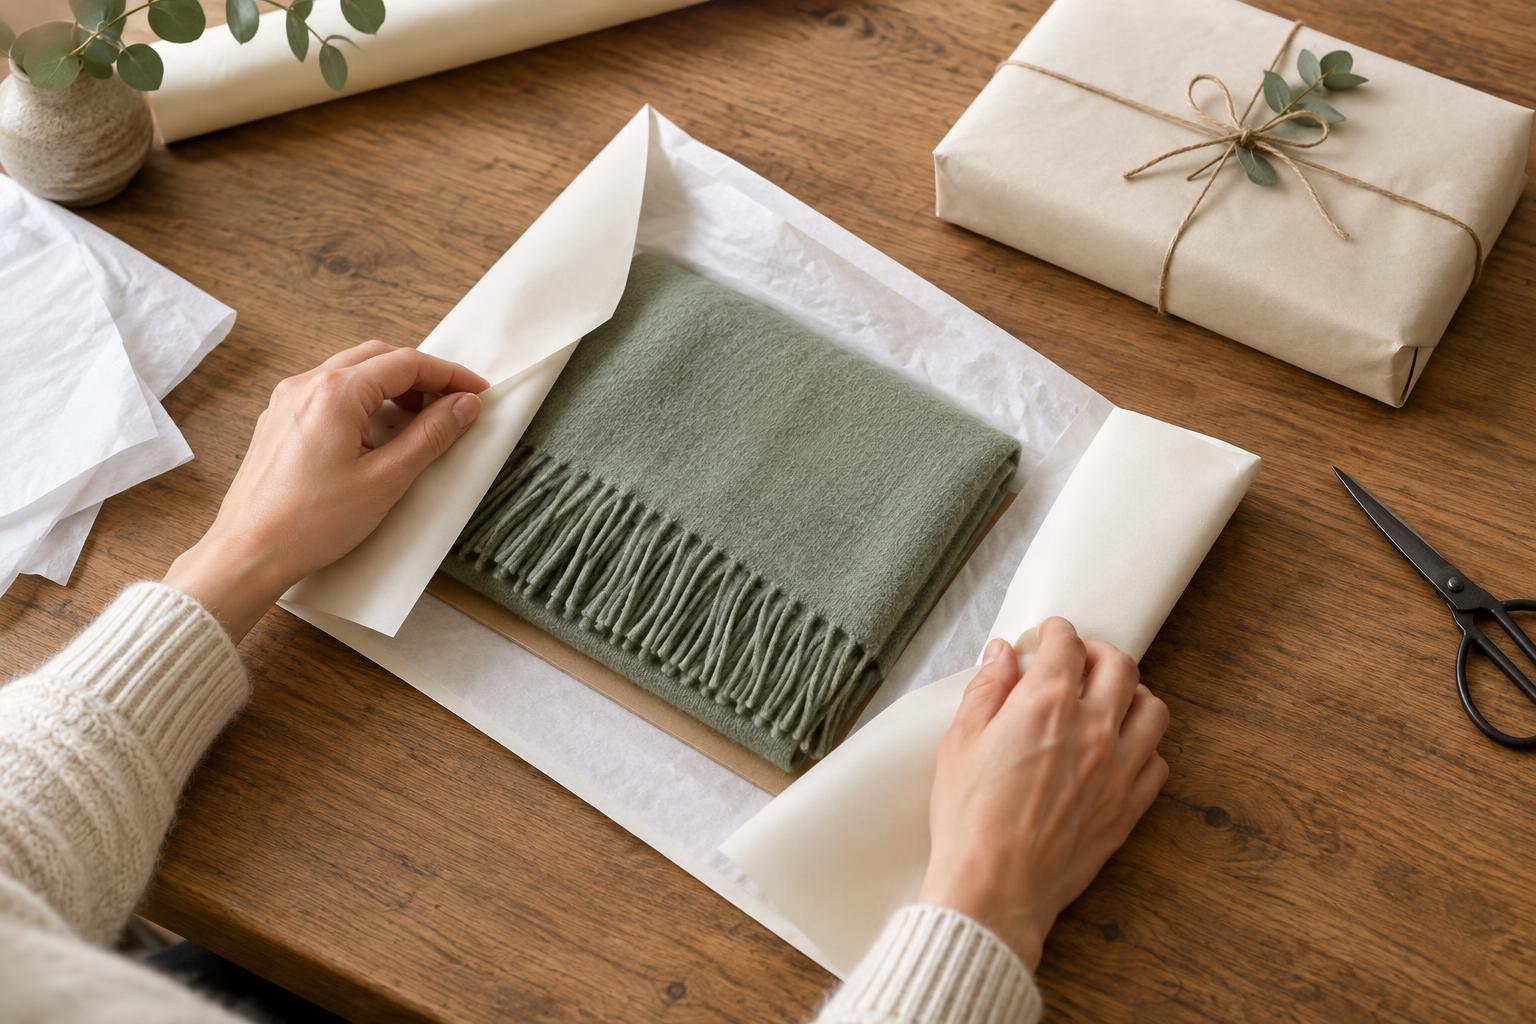
Tissue paper is useful because it contains loose edges and softens the outline of the item. Lay down one or two sheets, place the folded gift in the center, and bring the tissue around it like a loose envelope. Fold in the sides, then the top and bottom. A small piece of tape on the tissue can hold the bundle together while you handle the outer wrap.
Resist the temptation to add layer after layer to hide a bump. Extra tissue can create new lumps, especially at the corners. If one area still sticks out, reopen the bundle and redistribute the gift instead. A bit of soft padding can fill a hollow space, but it should support the shape rather than force the whole parcel into a rigid block.
Add a flat backing when you want crisp paper folds
For a more structured parcel without a box, place the tissue-wrapped gift on a piece of clean, lightweight cardboard. A backing cut slightly larger than the folded gift gives the wrapping paper a straight edge to follow. You can use a second piece on top if the item is thin enough and will not be flattened by it. Keep any rough cardboard edges away from delicate fabric by covering the backing with tissue first.
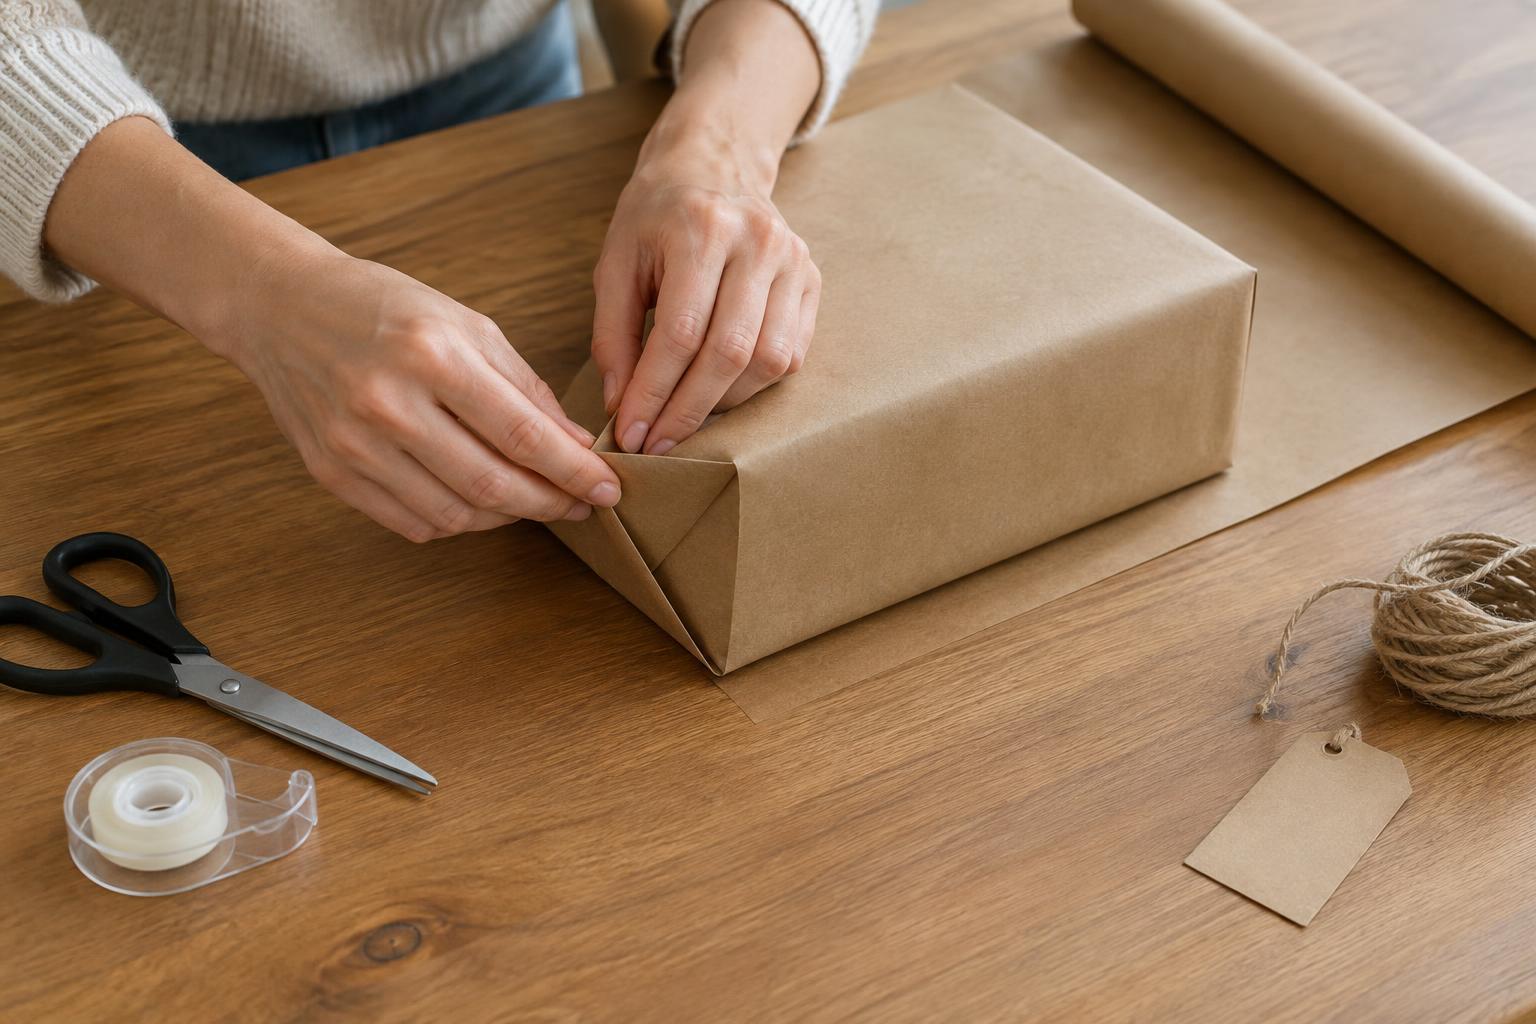
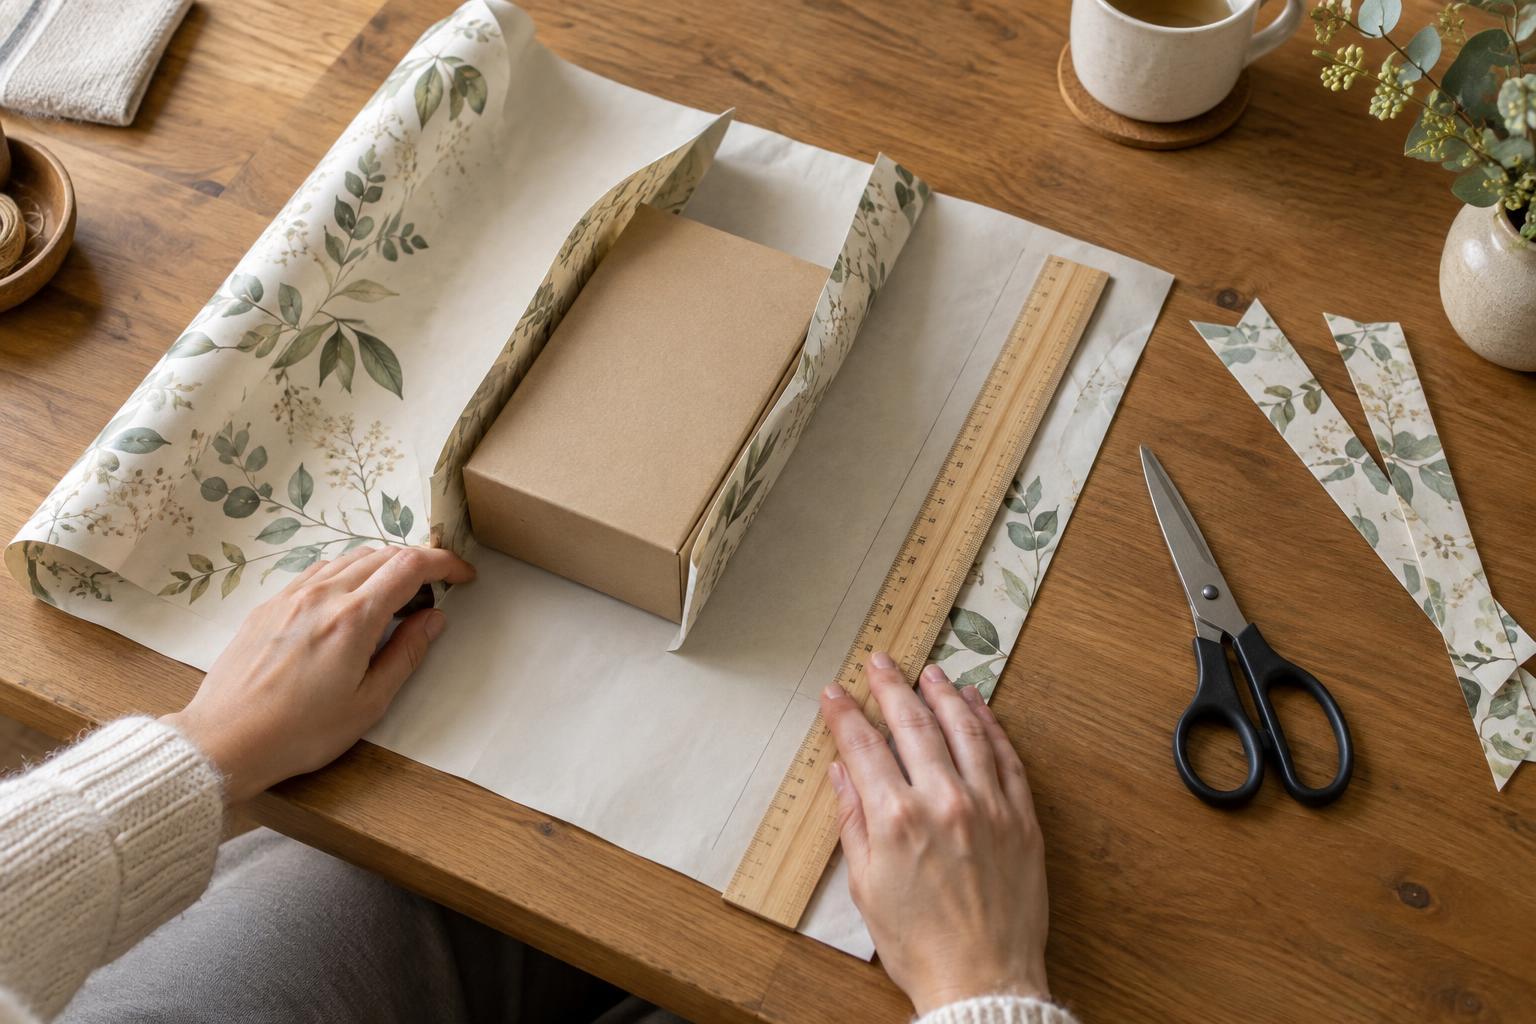
Cut the outer paper generously enough to meet at the back, but not so generously that excess paper bunches at each end. Set the gift face down on the paper, pull one long side across, then bring the other side over it. Tape the overlap to the paper, not the gift. At each short end, press the paper gently against the backing, fold the side flaps inward, and finish with a clean top or bottom flap.
Choose a loose wrap for gifts that refuse to lie flat
Some soft gifts are meant to keep their rounded shape. A plush toy, a pair of slippers or a chunky knitted hat may look more appealing in a gathered wrap than inside sharply folded paper. Set the item in the middle of a large sheet of tissue or flexible wrapping paper, lift the edges upward, and gather them above the gift. Tie the gathered area with ribbon or string, leaving enough room that it does not pull tightly against the item.
Fabric wrapping is another forgiving choice. A square scarf or piece of reusable cloth can follow an uneven outline without tearing at a corner. Place the gift diagonally on the cloth, bring opposite corners together, and tie them with a comfortable knot. Tuck in loose fabric at the sides. If the wrap itself is part of the gift, a small note can make that intention clear.
Finish with details that work with the shape
A ribbon can make a parcel feel finished, but it should not be asked to hold a shifting gift together. Secure the gift inside its tissue or cloth first, then add a ribbon around the outside. On a flat parcel, cross the ribbon over the center to keep the paper in place. On a rounded bundle, tie it at the gathered top or around the widest stable point without cinching the contents.
Before adding a tag, lift the parcel as the recipient might. If the shape slips or a corner pops open, adjust the inner fold rather than covering the problem with more tape. A slightly soft outline is part of the charm of an unboxed gift. Neat wrapping does not have to disguise what is inside; it only needs to protect the gift and make opening it feel considered.