Start with the gift, not the sheet
It is tempting to roll out a generous length of wrapping paper and trim it later. Measuring first gives you a better chance of getting a tidy wrap from a smaller piece. For a rectangular box, note its length, width and height. The height is the distance from the top of the box to the bottom, even if the box is shallow.
Decide where you want the long seam to sit, usually on the underside. The paper must travel all the way around the box in that direction. If it wraps around the width and height, allow for twice the width plus twice the height, then add a small overlap so the edges can meet securely. Along the box’s length, leave enough paper at each end to fold over the end face. About half the box’s height beyond each end is a useful starting point. These are guides rather than guarantees: stiff paper, rounded corners and bulky contents can change the fit.
Test the fit before making a cut
Place the box upside down on the uncut paper, with its edges roughly parallel to the paper’s edges. Bring one side of the paper up and over the box, then bring the other side across it. Check that the edges overlap a little on the underside without leaving a broad doubled band. Move the box or rotate it a quarter turn if another orientation uses less paper.
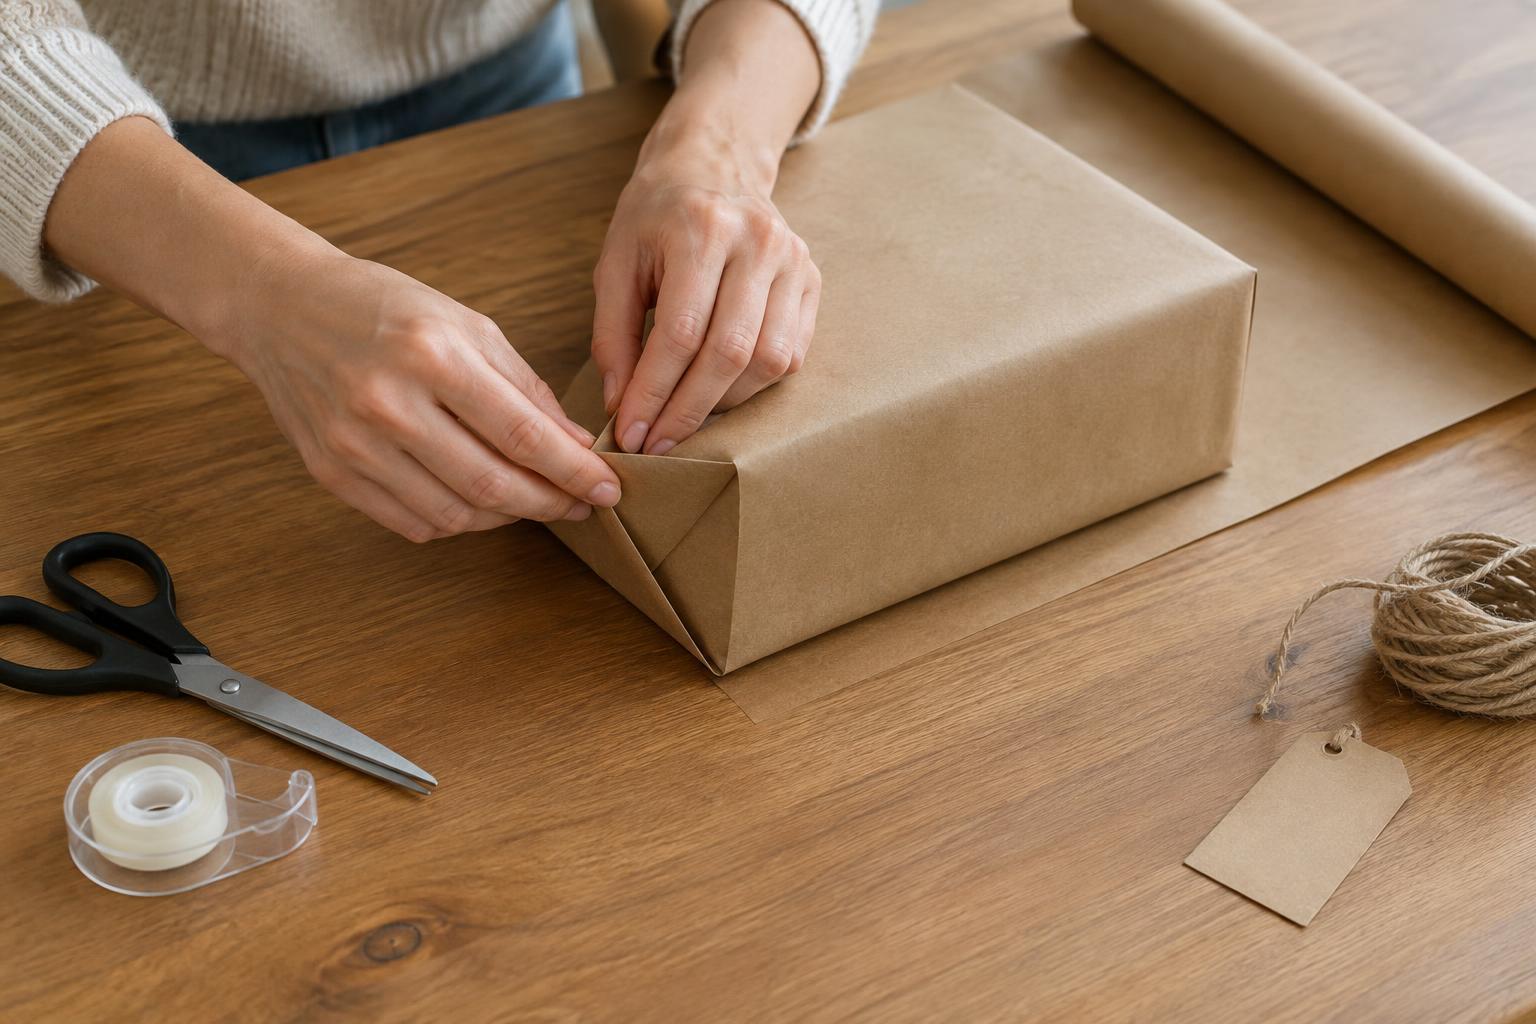
Next, check both ends. The paper should extend far enough past each end for the top and bottom flaps to cover the end face when folded. If it reaches much farther, slide the box closer to one edge and mark a shorter cut. If you are unsure, fold one end loosely while the paper is still attached to the roll. This quick rehearsal is especially helpful for a box whose height is close to its width, where the end folds may need adjusting.
Mark a straight line and cut once
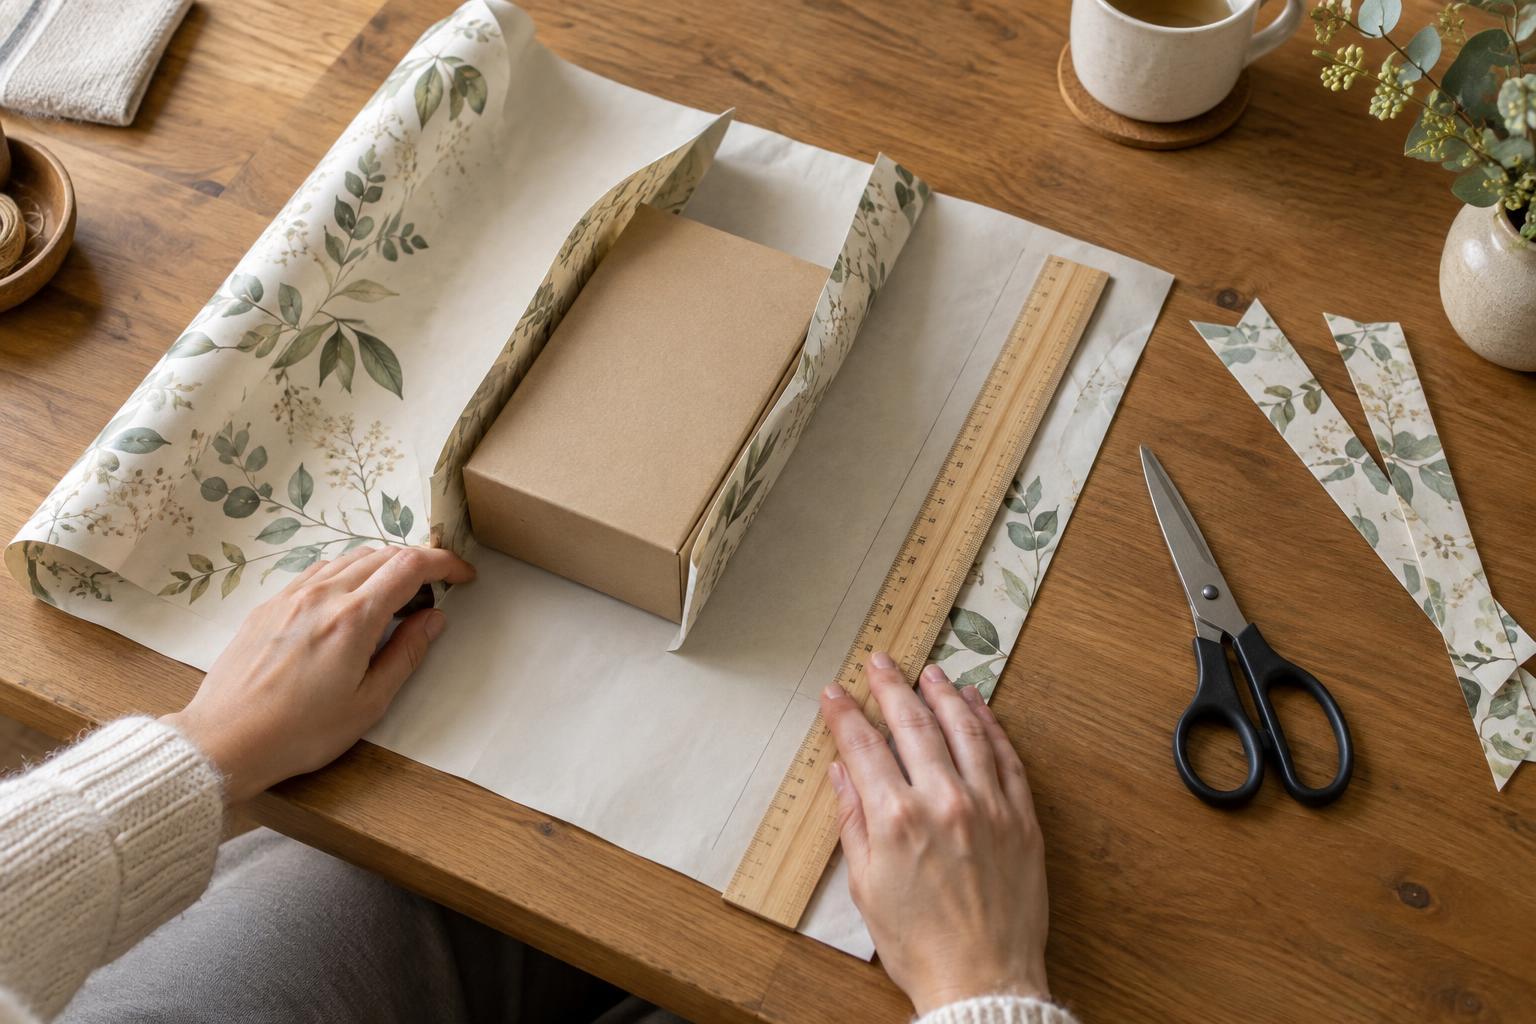
Once the fit looks right, mark the cutting line lightly on the reverse of the paper. A ruler can help with a small piece; for a larger piece, fold the paper gently at the intended line and use that crease as a guide. Keep the box in place until you have marked both dimensions, then lift it away before cutting. A flat table and sharp scissors make it easier to avoid jagged edges.
Cut a little beyond the mark only if you genuinely need room to adjust. Extra paper can be trimmed after a test fold, but a very large allowance creates thick corners and uses material unnecessarily. When sealing the long seam, fold its exposed edge inward for a clean finish if the paper is thin enough. Make that fold small so it does not consume the overlap you measured.
Adapt the method to awkward shapes
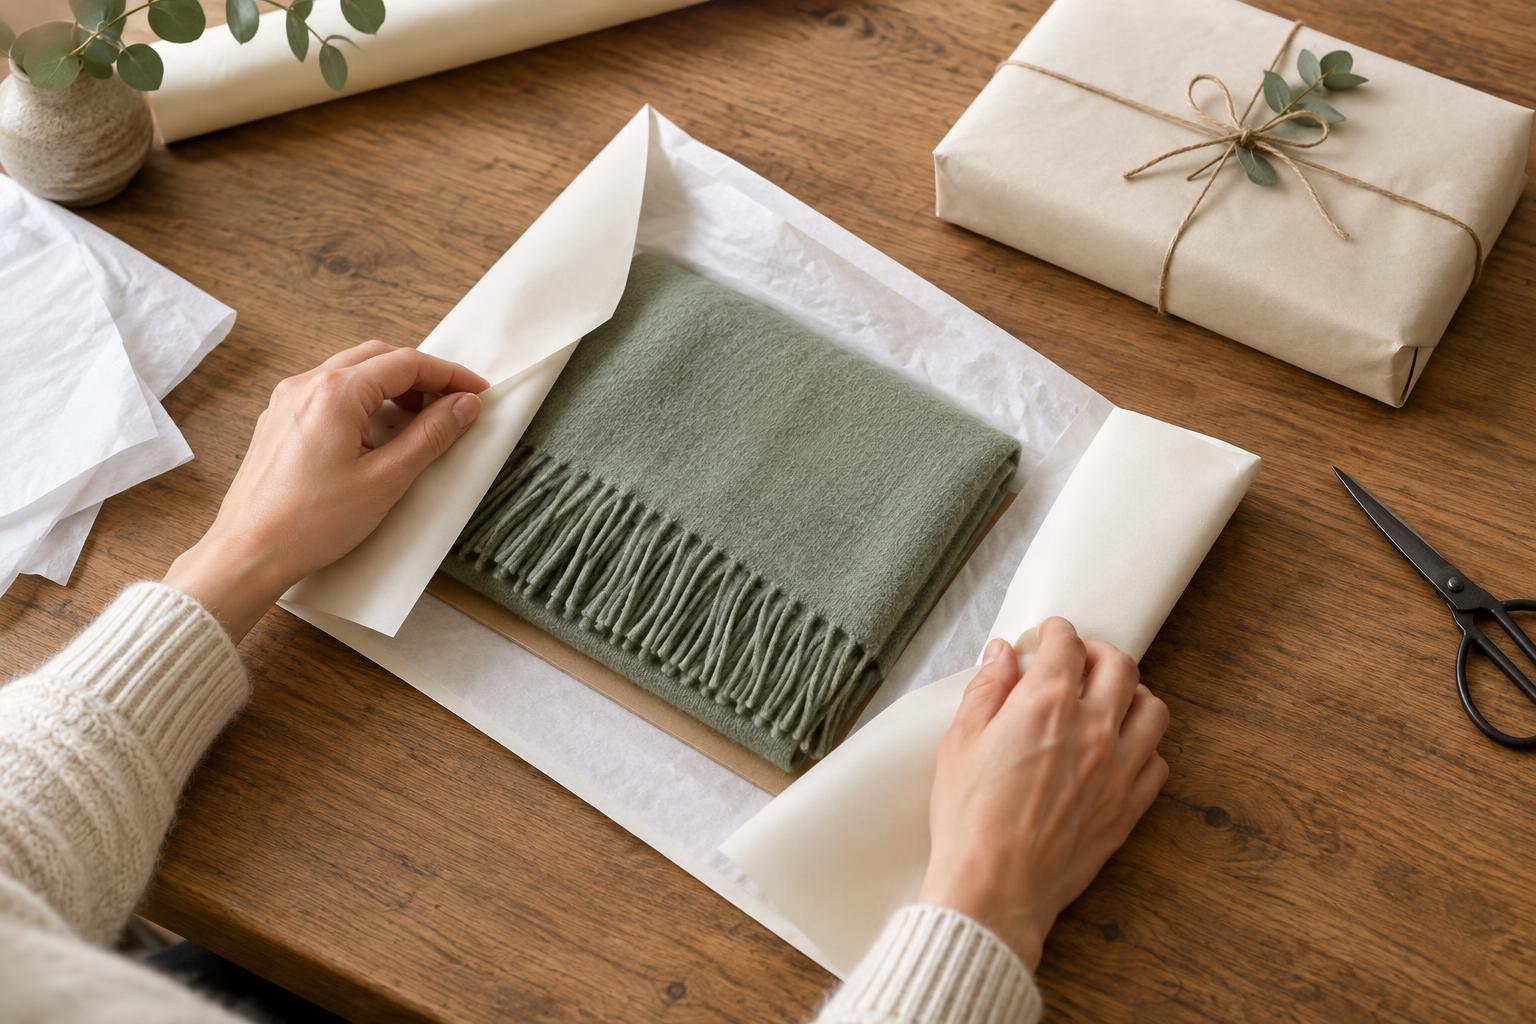
A soft scarf, mug or other uneven gift is harder to measure directly. One option is to place it in a reusable box or wrap it first in tissue to make a steadier shape. You can then measure the outer package rather than guessing how much paper the item itself will need. Avoid pulling paper tight around a fragile or irregular object; a little space makes the wrap easier to handle.
For a cylinder, test the paper around its curved side and allow a modest overlap for the seam. Leave paper at the ends only if you plan to fold it into pleats; that method may take more practice and paper than wrapping a box. If your available piece is too narrow, a paper band around a plain box can look intentional without trying to conceal a gap with layers of tape.
Give the offcuts a purpose
Before discarding a narrow strip, consider whether it could become a gift tag, a belly band around a small package or a decorative panel on plain paper. Shorter rectangles can wrap a little box or cover the front of a folded card. Keeping usable pieces flat in a folder makes them easier to find next time than leaving them curled beside the roll.
The aim is not to make every scrap useful. It is to choose the smallest piece that wraps the gift comfortably, cut it neatly and save offcuts that suit something you are likely to make. A few moments of measuring can make wrapping feel less like a guessing game—and leave more of the sheet ready for another gift.