Start with the tag and its attachment point
Before tying on a tag, decide where it can sit without being pulled, crushed or hidden. A tag attached to a loose bow loop may slide away when someone lifts the parcel. A handle, a ribbon that wraps fully around the box, or a length of string tied securely around the package usually gives it a more reliable anchor.
Check the tag itself, too. A hole close to the edge can tear, especially in thin paper. If you are making your own tags, leave a generous margin around the hole and use sturdy card. A hole reinforcement sticker can help a softer tag withstand handling. Write the recipient’s name before attaching it, while the surface is flat and easy to reach.
Tie it to ribbon or string without relying on the bow
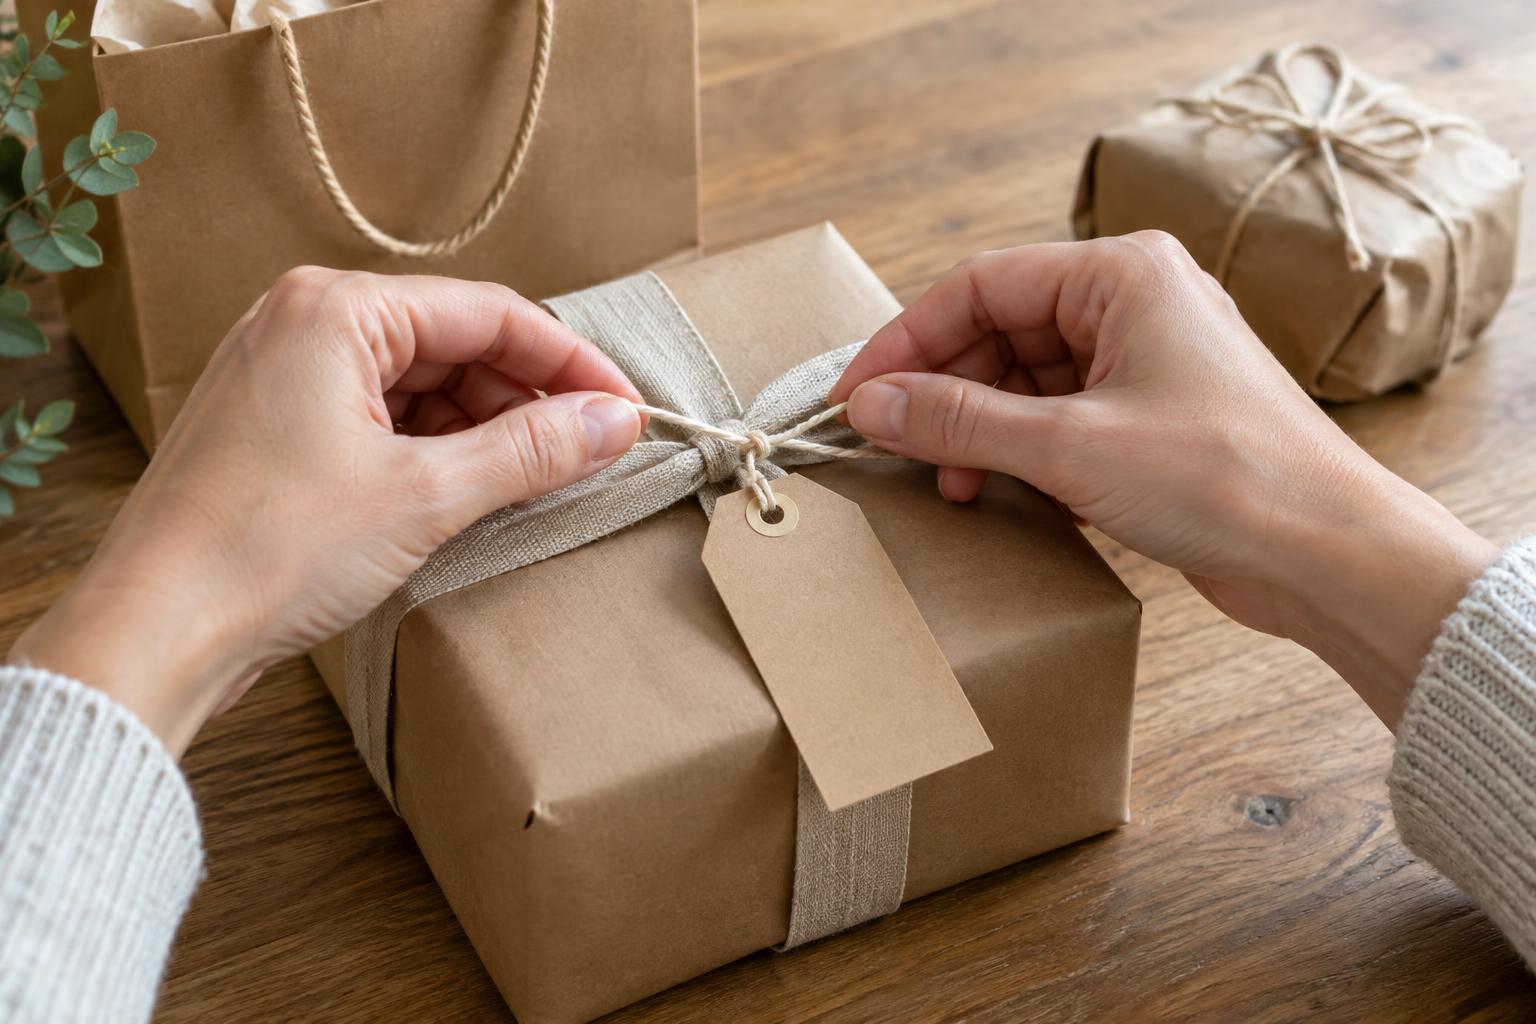
For a wrapped box, run ribbon or string all the way around the parcel and tie it snugly before adding a decorative bow. Thread a short piece of string through the tag, fold it so the ends meet, and tie both ends around the ribbon near its main knot. This makes the tag’s attachment separate from the bow loops, which may loosen or be retied. Keep the tag close to the knot so it has less room to slide along the ribbon.
If the tag has a large enough hole, you can pass one end of the wrapping string through it before tying the string around the box. This keeps the tag on the string even if it shifts position. Leave enough slack for the tag to lie flat, but not so much that it catches on nearby gifts. Give the tag a gentle tug to check both the knot and the hole.
Use a secure point on gift bags and unusual shapes
On a gift bag, loop the tag’s string around one handle close to where it joins the bag, then tie a firm knot. If the handle is slippery, wrap the string around it twice before tying. Avoid attaching the tag only to tissue paper: tissue can pull free while the bag is carried. For a bag with no suitable handle, a small hole near the top edge can work if the material is sturdy enough; keep the hole away from a fold or seam that may tear.
Bottles, baskets and soft parcels need a different approach. Tie a tag around a narrow neck, a sturdy basket handle or a ribbon that encircles the entire gift. On a soft parcel, place the tag where it will not be pressed against a sharp corner or caught while the gift is moved. If there is no dependable place to tie it, a clearly written label on the outer wrapping may be safer than a dangling tag.
Know when tape or adhesive is the better choice
A flat tag can be easier to keep in place than a hanging one, particularly on a gift that will travel in a crowded bag. Place a small piece of tape over the tag’s string where it meets the wrapping paper, or use a folded piece of tape on the back of the tag. Press it onto a clean, dry section of paper. Do not count on tape alone if the tag is heavy, the surface is textured or the wrapping is likely to get damp.
An adhesive gift label is another simple option when presentation does not call for a dangling tag. If you want the look of a separate tag, you can attach one with removable tape, but test a discreet spot first if preserving the wrapping matters. Avoid putting tape directly on delicate finishes, fabric or keepsake boxes unless you are comfortable with the possibility of residue.
Check the tag before the gift goes out
After attaching the tag, lift the present as someone else would carry it. Turn it gently, check whether the tag slides toward an open end, and see whether the writing remains visible. For several gifts going to the same gathering, make sure each tag clearly identifies its recipient. A beautiful tag does little good if it ends up on the wrong parcel.
If a gift will be packed with others, tuck the tag against the wrapping or beneath a ribbon for protection, without hiding the name completely. You can also write the recipient’s name discreetly on the wrapping as a backup. The aim is not to make the tag impossible to remove; it is to give it a secure place to stay until the gift reaches the person it is meant for.