Start with the best part of the sheet
Before cutting anything, open the saved paper and look at both sides in good light. Identify the largest uninterrupted area, then mark out any torn edges, lifted color, writing, or obvious tape residue in your mind. The goal is not to restore the entire sheet. It is to use its soundest portion where someone will see it.
Try placing the gift on the paper before you trim. Rotate the box and test a few positions: a tape mark that seems prominent on a flat sheet may end up inside an end fold. If the paper has a repeating pattern, check which direction it should face on the top of the gift. Leave enough extra paper to cover the sides, but avoid generous overhangs that create bulky folds and draw attention to worn areas.
Not every sheet needs to wrap a whole box. If the clean section is too small, set it aside for a gift tag, a paper band, or the front of a homemade card. Choosing a smaller use often gives the paper a neater second life than stretching it across a gift it cannot quite cover.
Work with creases instead of fighting them
Old fold lines rarely disappear completely, especially in thin or glossy paper. Rather than trying to make the sheet look untouched, plan where those lines will fall. A crease can become the sharp edge of a box, sit beneath a ribbon, or run along a side that faces down when the gift is displayed.
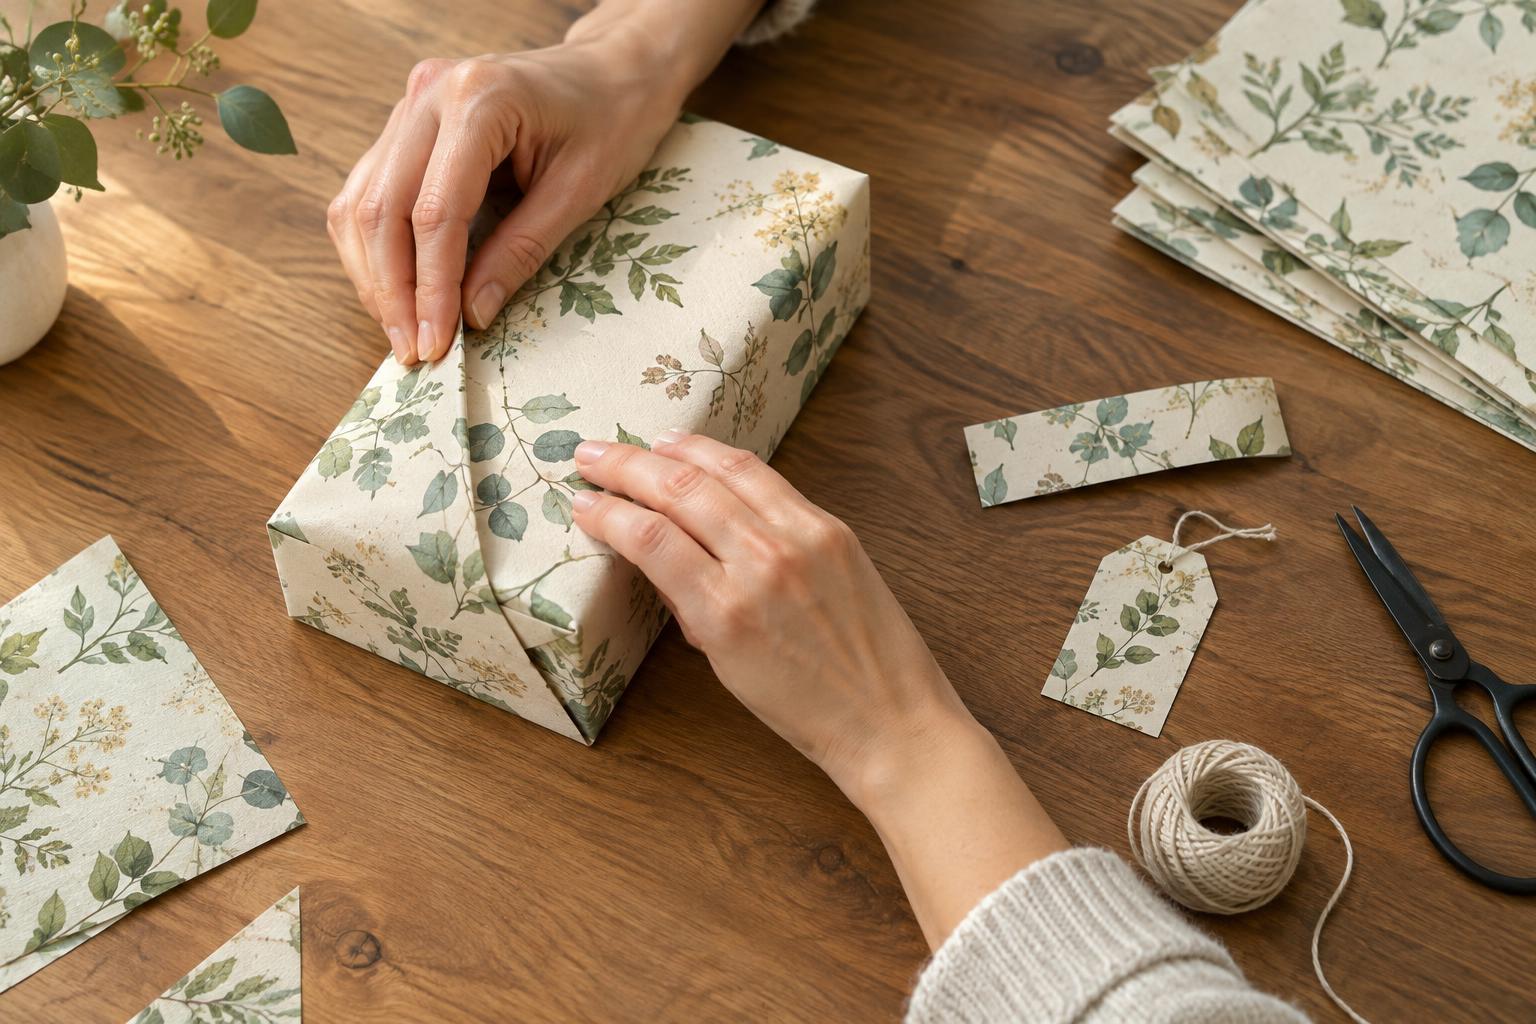
For a simple box, lay the paper pattern-side down and center the box so the most visible surface of the paper will become the top. Make a loose test fold before securing anything. If an old crease crosses the top at an awkward angle, shift the box slightly or turn it a quarter turn. A few moments of repositioning can do more than pressing and smoothing later.
You can gently flatten paper under a stack of books for a while before wrapping. Place it between clean sheets if the surface might transfer color or pick up marks. Avoid using heat unless you know the paper and its finish can tolerate it; printed coatings and metallic details may react unpredictably. A crisp new fold in a sensible place usually looks better than repeated attempts to erase an old one.
Keep tape damage out of sight
Removing old tape can lift the print or thin the paper. If it does not come away easily, leave the damaged section on an inside flap or trim it off. Resist tugging at a stubborn corner just to save an extra inch; a small clean sheet is easier to use than a larger sheet with a conspicuous tear.
When wrapping, place fresh adhesive where it will be hidden, such as beneath an overlapping edge or on the underside of the box. Fold the first long edge inward to make a straight, clean seam before bringing the second edge over it. This can conceal a rough cut and give the finished wrap a more deliberate appearance. Use only as much tape as needed to hold the paper securely.
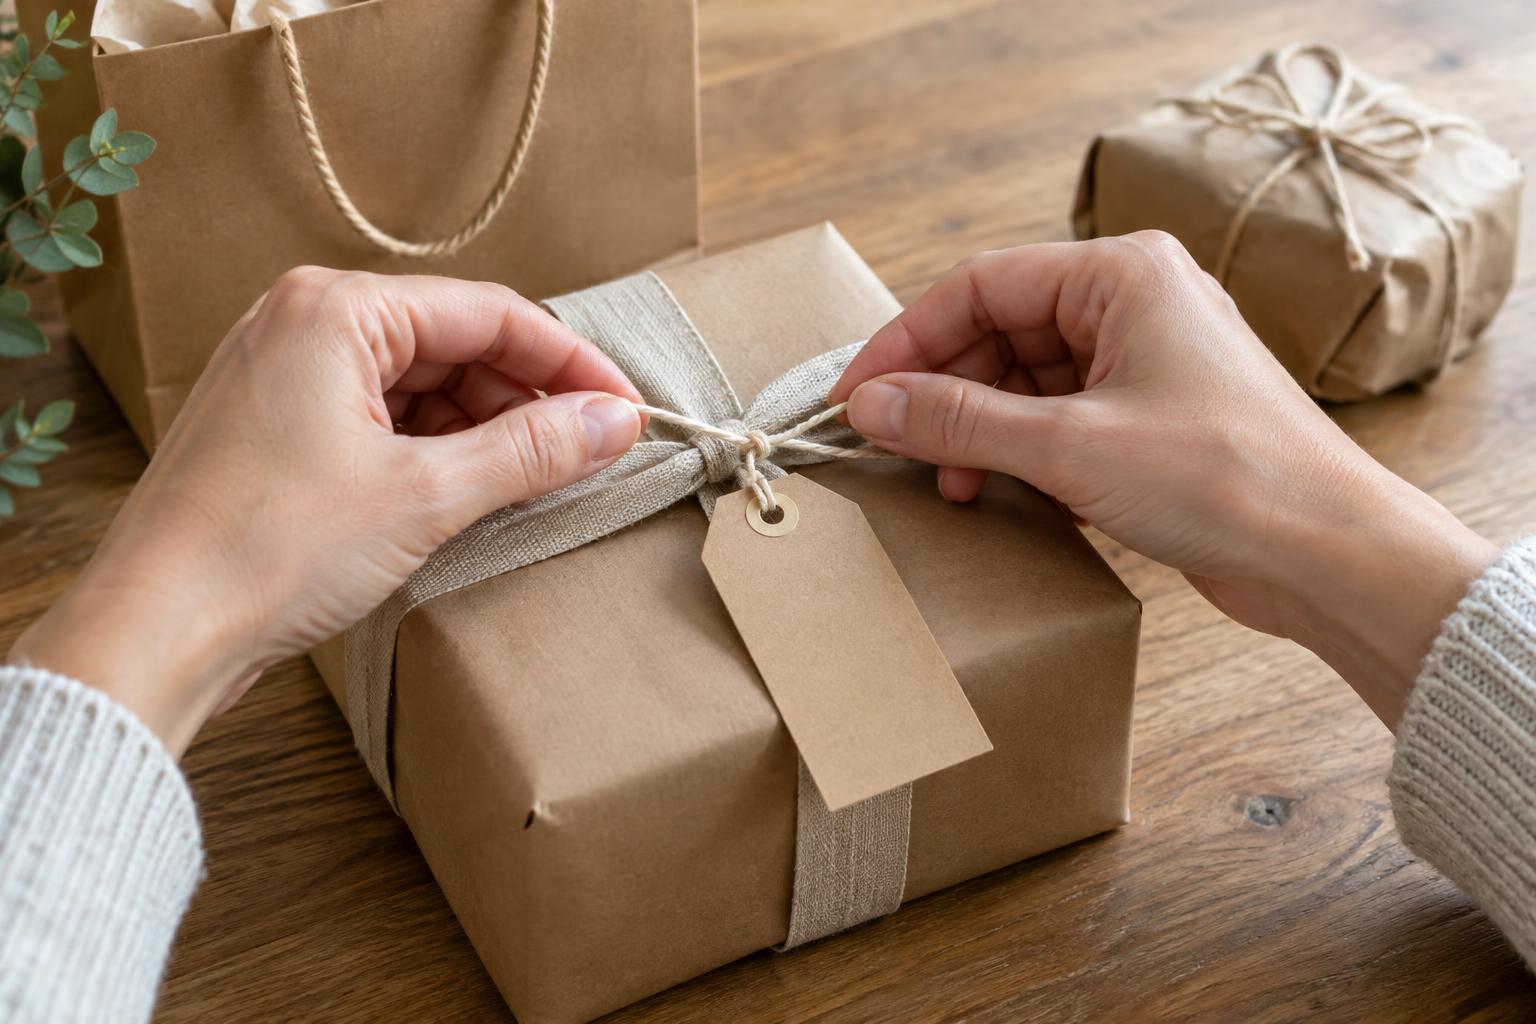
If a small mark must remain on an exposed side, cover it with a purposeful detail rather than a tiny patch that looks like a repair. A wide paper band, a ribbon, or a gift label can give that area a reason to be noticed. Check that the addition sits comfortably with the paper’s pattern instead of making the gift feel crowded.
Make smaller pieces part of the design
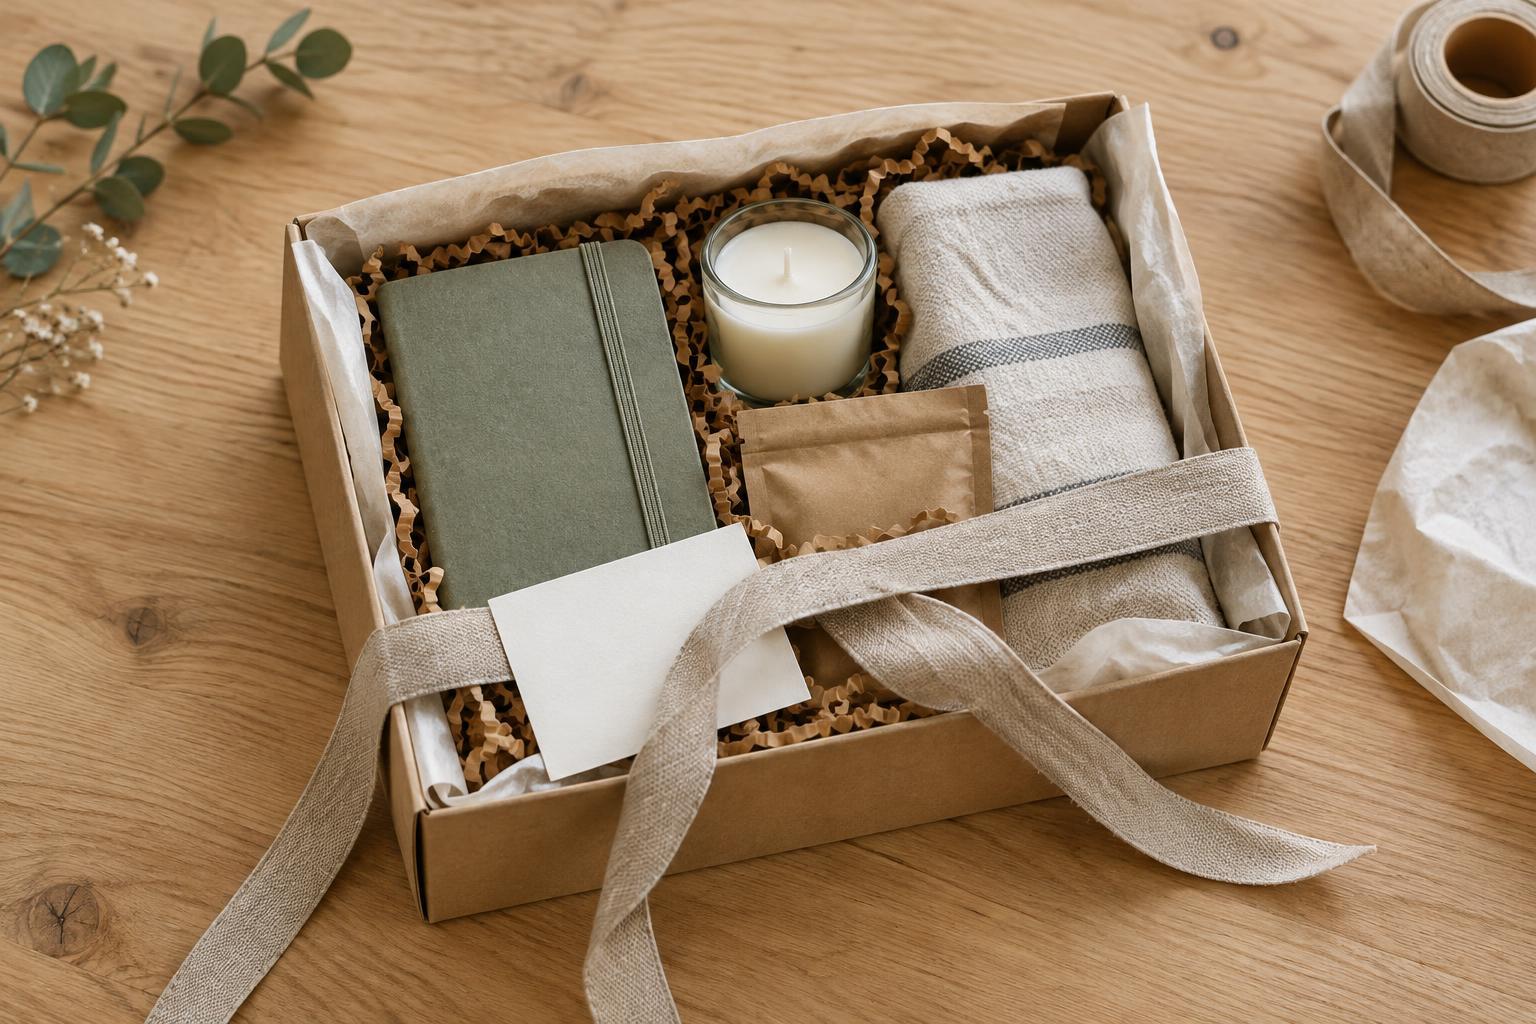
A sheet with several damaged edges may still have enough clean space for a band around a plain-wrapped box. Use unmarked paper, a reusable bag, or another suitable base for the gift, then wrap a strip of saved patterned paper around its middle. A crease hidden beneath the band’s overlap will not interrupt the visible design.
Clean offcuts also work well as folded tags, envelope liners, or small decorative panels on a plain package. Cut around marks rather than trying to disguise every one. If the print has a distinctive motif, frame one intact part of it on a tag; if the pattern is small and even, several narrow strips can create a coordinated look.
These details are especially useful when you have kept paper from a meaningful occasion. Reusing a recognizable piece can quietly connect one celebration to another without requiring the entire package to look brand-new.
Finish neatly and save what remains
Once the gift is wrapped, look at it from the top and from the angle at which it will be handed over. Smooth loose folds with your fingers, tuck in any exposed cut edge, and adjust a ribbon or band if it has slipped away from the spot you meant to cover. Stop before extra decorations overwhelm the paper.
For next time, open wrapping paper gently when possible and store usable sheets flat or loosely rolled. Keep small clean pieces together so they are easy to find when you need a tag or accent. Reused paper does not have to pass for new: careful placement and a tidy finish are enough to make a gift feel thoughtfully presented.