Start with the gifts, not the wrapping
Lay out everything you plan to include before choosing a box, bag or wrap. Seeing the items together makes it easier to spot awkward shapes, fragile pieces and anything that might leak or snag. It also helps you decide what the recipient should notice first. A handwritten note, for example, might sit on top, while a heavier item belongs at the bottom.
Look for one simple connection between the gifts. They might all suit a quiet evening, share a color, or relate to a hobby. They do not need to match perfectly. A loose theme gives you a guide for choosing tissue paper or ribbon and helps the collection feel intentional rather than crowded.
Choose a container with a little breathing room
A sturdy box is useful when items vary in size or need protection. A gift bag works well for lightweight pieces that can stand upright, while a shallow tray or basket lets the arrangement remain visible. You can also bundle soft, unbreakable items inside a reusable cloth. Choose a container that holds everything comfortably without leaving so much empty space that the contents slide around.
Test the fit before adding decorative layers. Put the largest or heaviest piece in first, then place the smaller gifts around it. If the container bulges, cannot close without pressure or feels unstable when lifted, try a larger one or remove an item. A tidy bundle should be comfortable to carry as well as pleasant to look at.
Build a stable arrangement from the bottom up
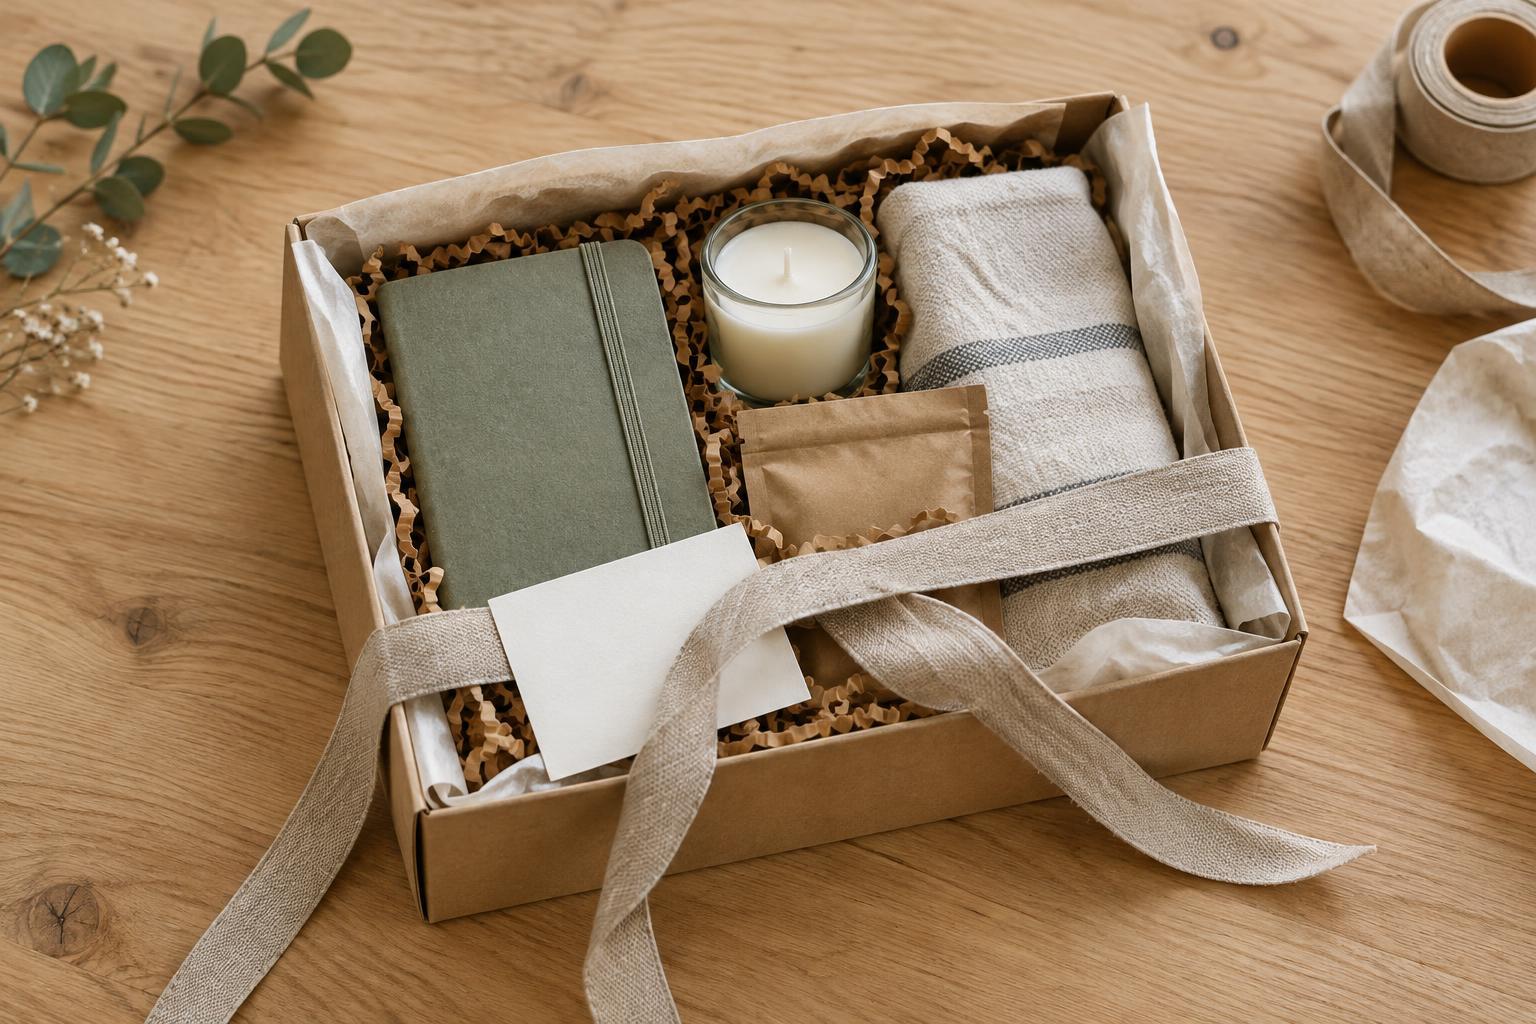
Add a base layer of folded tissue, plain paper or clean fabric if the container needs padding. Set heavy objects low and close to the center. Tuck smaller pieces into the spaces around them, with labels or interesting details facing outward where possible. In an open container, vary the height slightly so each item can be seen without looking as though it might fall out.
Give breakable items their own protective wrapping before placing them in the bundle. Keep anything with a lid upright, and put it in a separate sealed pouch if a spill could damage the other gifts. Lightly fill gaps with crumpled paper or fabric so objects do not knock together. The filler should support the gifts, not bury them; you should still be able to remove each item without tugging.
Use one finish to bring it together
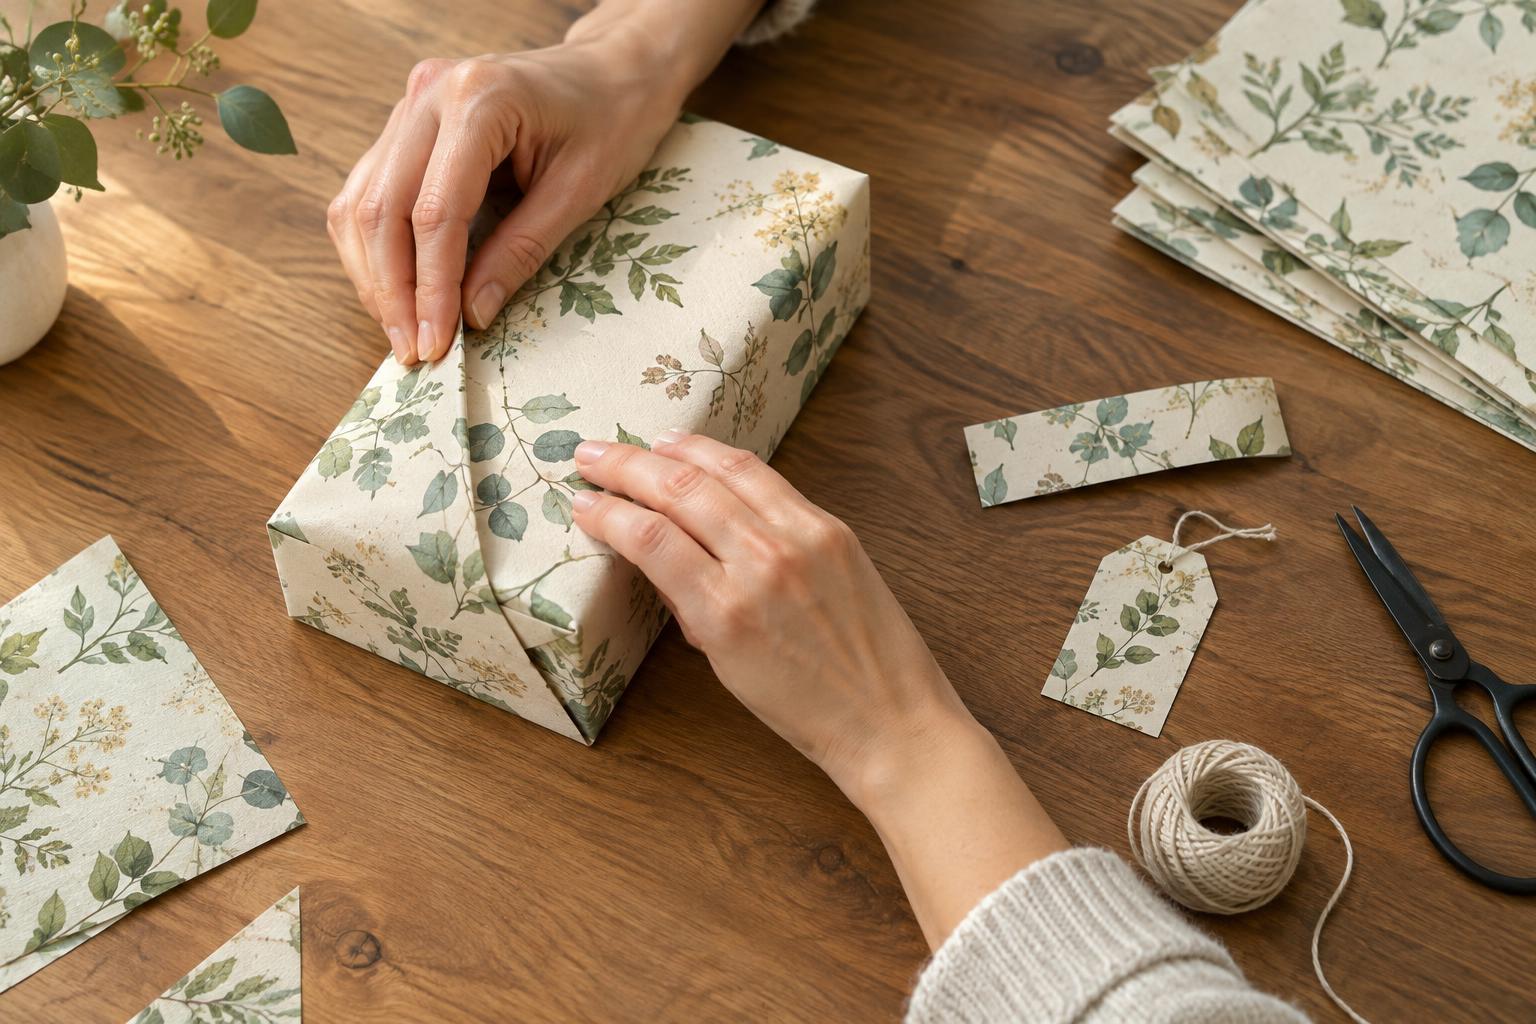
A limited set of materials can make a mixed group look cohesive. Try one paper color, a length of ribbon, or a small tag repeated across individual items. If you are wrapping each piece separately, vary the size of the parcels but keep one element consistent. This creates a sense of discovery without making the overall presentation look busy.
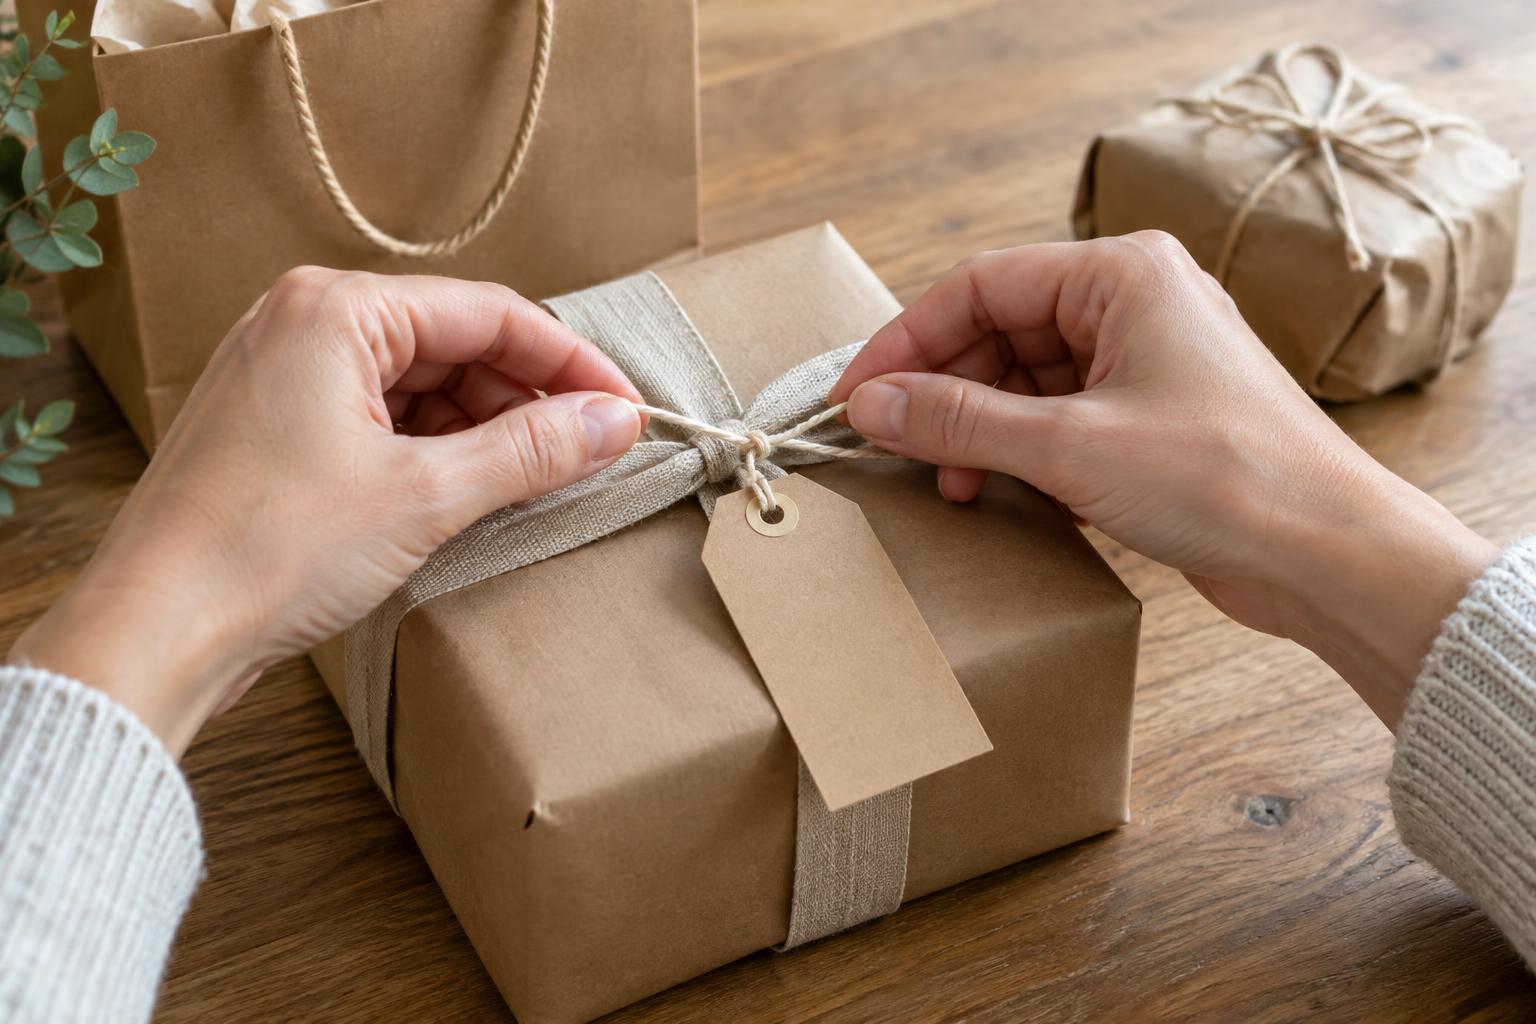
For a closed box, place tissue over the arranged gifts and close the lid gently. For an open basket or tray, a ribbon around the container may be enough. Clear wrapping can hold an open arrangement together, but leave room at the top so it does not press down on delicate contents. Whatever you use, check that tape and knots do not make the bundle frustrating to open.
Add a note and do a final lift test
A short note can explain why the items belong together without turning the gift into a list of instructions. You might mention the shared idea behind them or simply offer a warm message. Place the note where the recipient will find it before unpacking everything, such as beneath a ribbon or just inside the lid.
Finally, lift the bundle as the recipient will. Listen for shifting and look for pieces that tilt, catch on the wrapping or disappear beneath filler. Adjust the padding or arrangement until it feels secure. The goal is not a flawless display: it is a collection that travels neatly, opens easily and gives each small gift its moment.