Start with the paper, not the tape
Tape that disappears on one gift may stand out on another. Smooth, glossy wrapping paper can make shiny tape less noticeable, while matte paper often looks better with a matte-finish tape. Pattern matters, too: a small piece of clear tape may blend into a busy print but catch the light on a plain sheet. Before wrapping the whole gift, place a short piece on an offcut and look at it from a few angles.
The paper’s strength is just as important as its appearance. Thin tissue and delicate handmade papers can tear when tape is pulled away, and heavily textured papers may not give adhesive enough flat surface to grip. If the paper feels fragile, plan to hide tape beneath folds rather than sticking it across the visible surface. A test on a scrap can show whether the tape grips without wrinkling or lifting fibers.
Match the tape to the finish you want
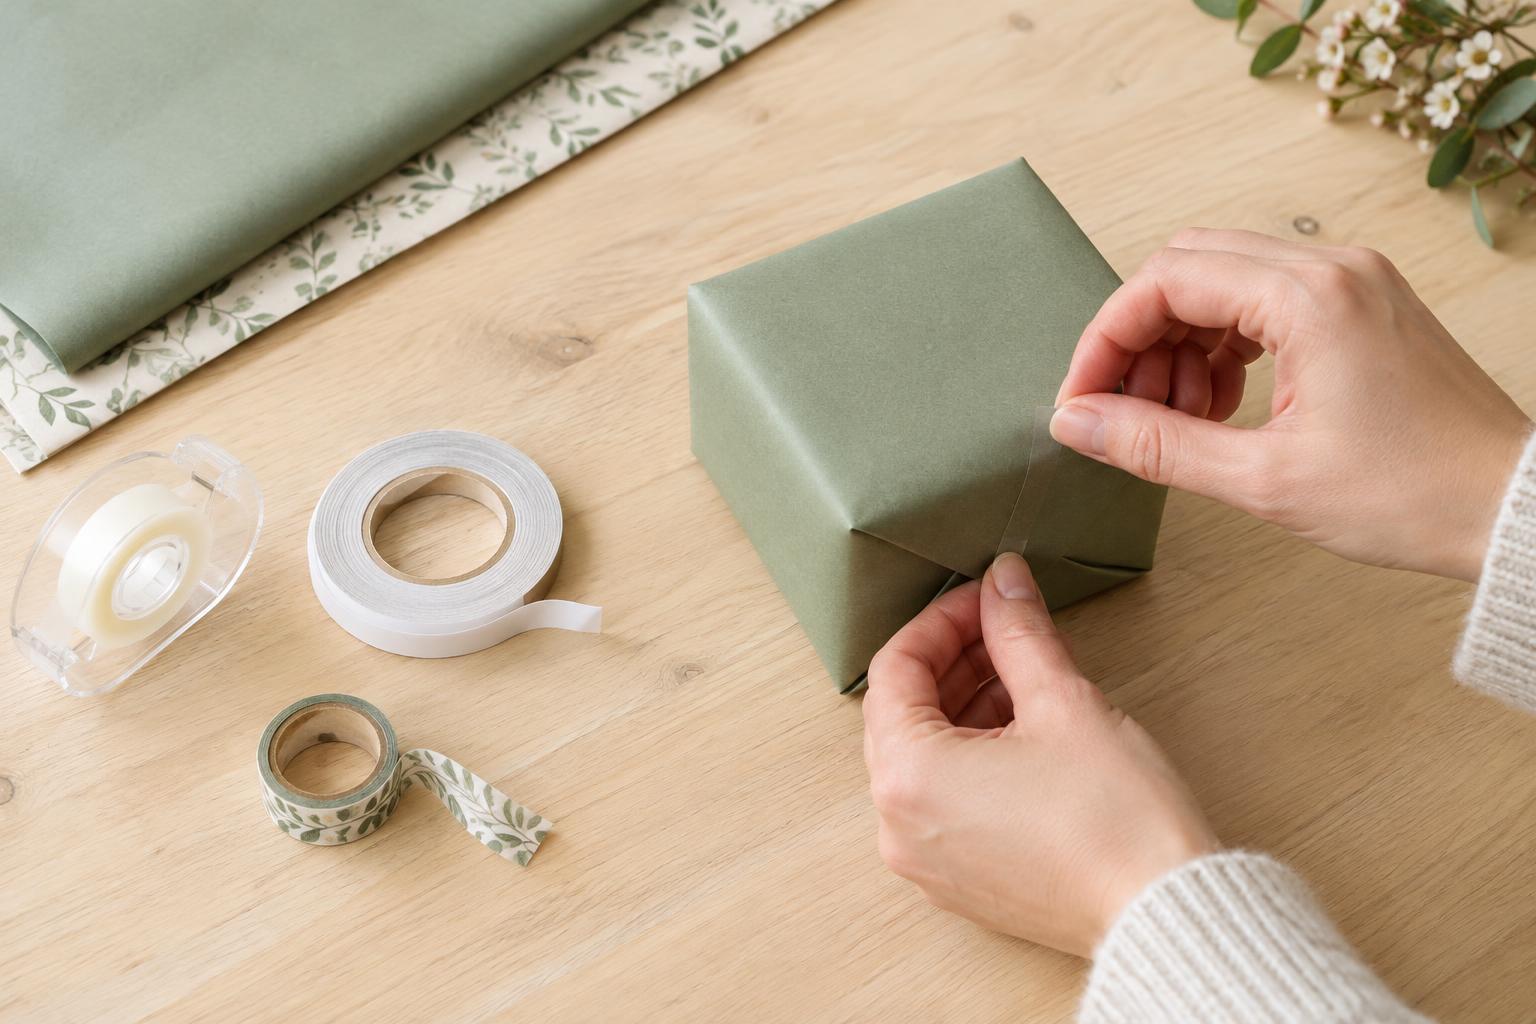
Transparent tape is a useful everyday choice for ordinary wrapping paper. For a quieter finish, try a matte-finish transparent tape; it generally reflects less light than a glossy one, though it may still be visible against some colors or prints. Choose a width that covers the seam without extending far beyond it. A short piece that holds a well-folded edge is usually neater than a long strip used to force a loose fold into place.
Double-sided tape is helpful when you want the outside of a package to show only paper. Place it on the underside of the final flap, keeping it back from the flap’s edge so adhesive will not peek out. Decorative washi or paper tape serves a different purpose: it makes the fastening part of the design. Its grip can vary, so check that it holds your particular paper before relying on it to close a tightly folded package.
Make folds do most of the work
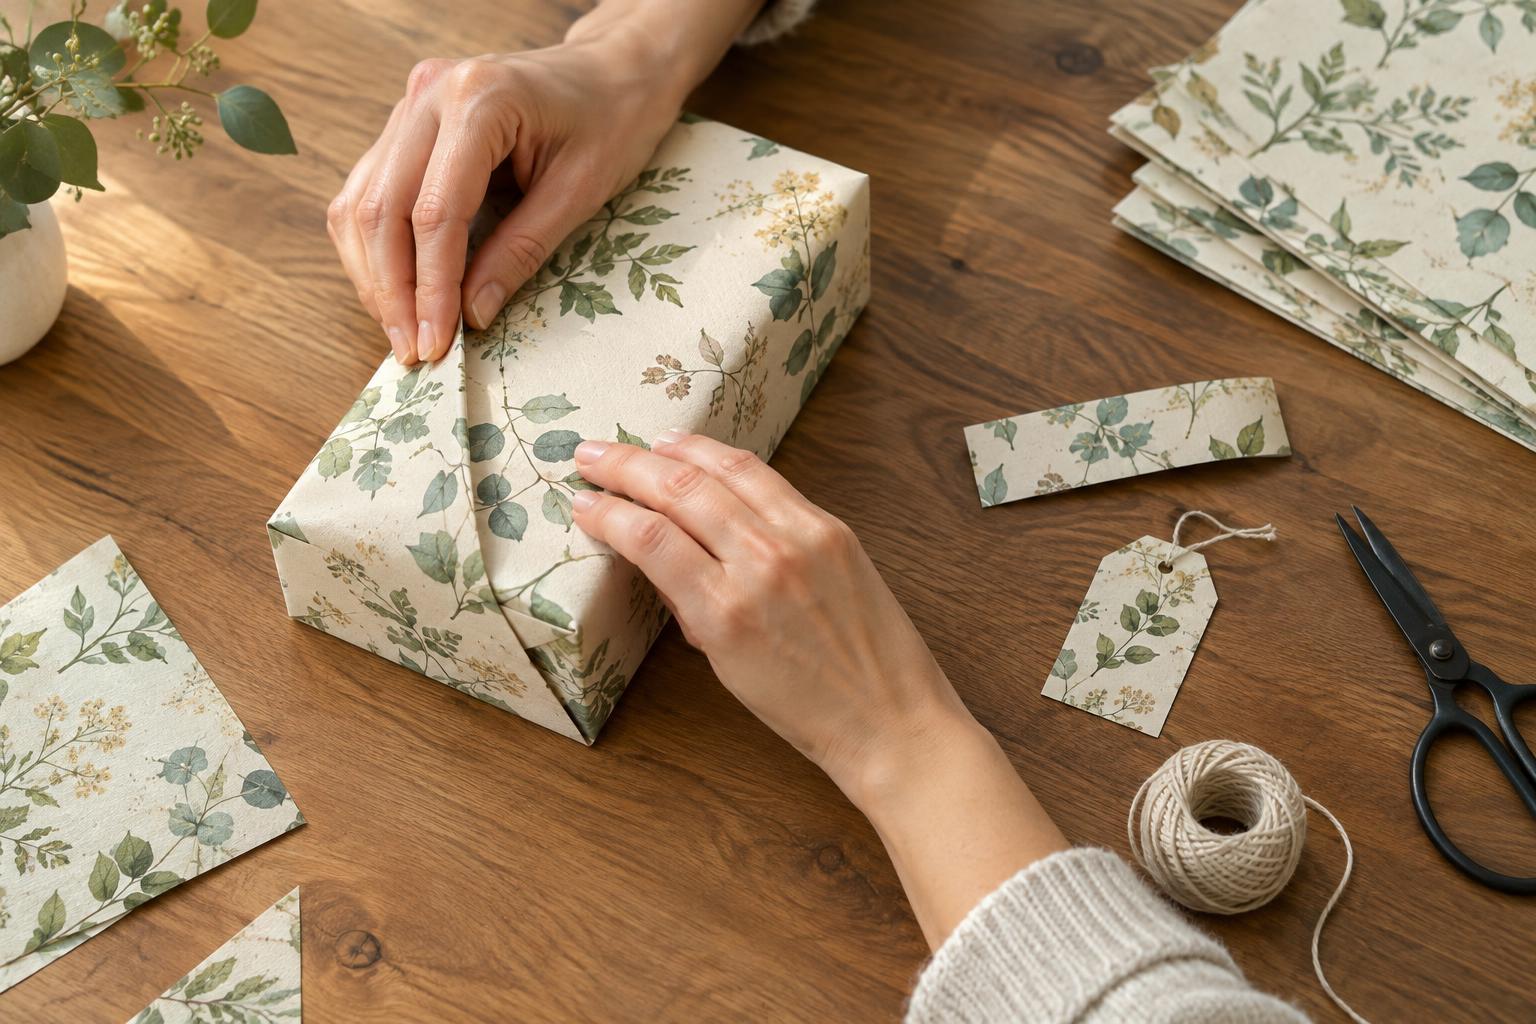
Tape works best when it secures a fold rather than fights one. Cut enough paper to cover the gift without a large overlap, then crease the edges gently so they lie flat. On the long seam, fold under the raw edge of the top flap before fastening it. This creates a tidy line and gives you a place to conceal double-sided tape or position a small piece of clear tape.
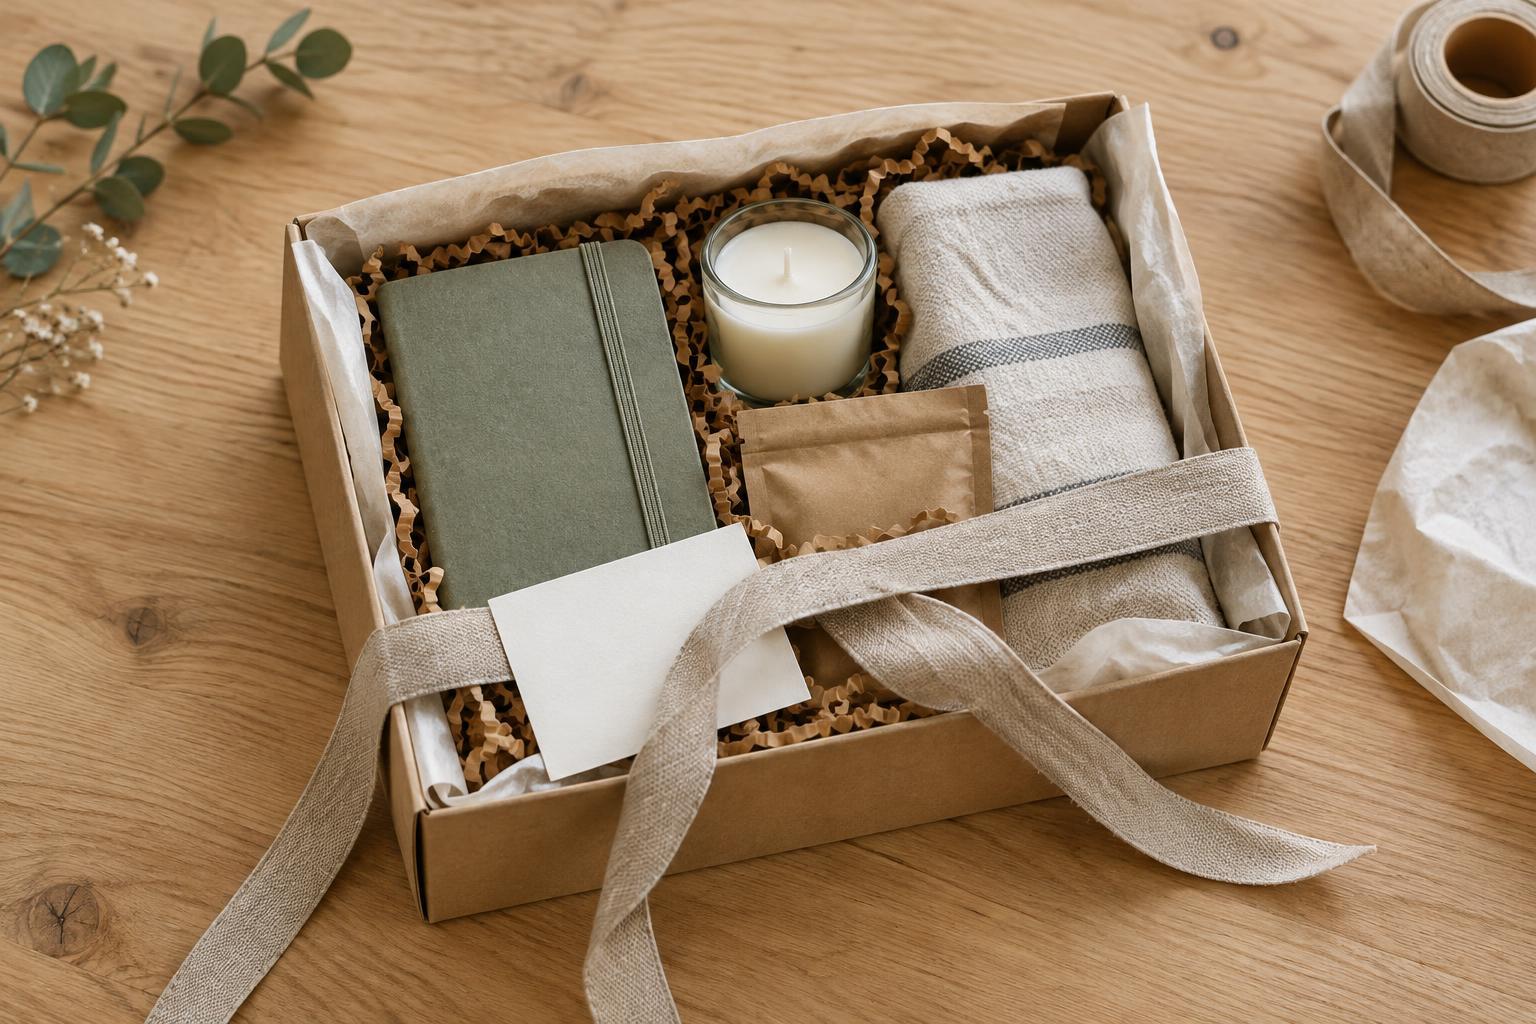
At each end, press the side flaps inward before folding the top and bottom triangles. If the paper is bunching, pause and adjust the folds instead of pulling harder. Tension makes thin paper more likely to split at a corner. On an awkwardly shaped gift, a box or a loose paper wrap tied with ribbon may produce a better result than adding more tape.
Keep adhesive away from vulnerable spots
Avoid putting tape directly over a sharp corner, an embossed detail or a delicate printed area if you can. Those surfaces can make tape sit unevenly, and the pressure needed to smooth it down may crease the paper. Handle pieces by their ends and place them deliberately rather than repeatedly lifting and repositioning them. Even tape that peels away easily from one paper can pull fibers from another.
For tissue paper, consider using it as an inner layer held in place by an outer wrap, ribbon or gift bag. If tape is necessary, attach it where several layers overlap and test a small piece first. A discreet fastening is not worth tearing a sheet you hoped to keep intact.
Finish with a quick visual check
Turn the wrapped gift in your hands before adding a tag or bow. Look for exposed tape ends, gaps along the seam and corners that spring open. A small adjustment to a fold may solve the problem more cleanly than another strip of tape. Trim any visible excess rather than layering new tape over it.
There is no single tape that vanishes on every paper or releases without damage. The most reliable approach is to test the combination, use as little adhesive as the folds require and place it where the recipient’s eye will go last. That leaves the paper, ribbon and personal message to make the first impression.