Start with the paper and envelope
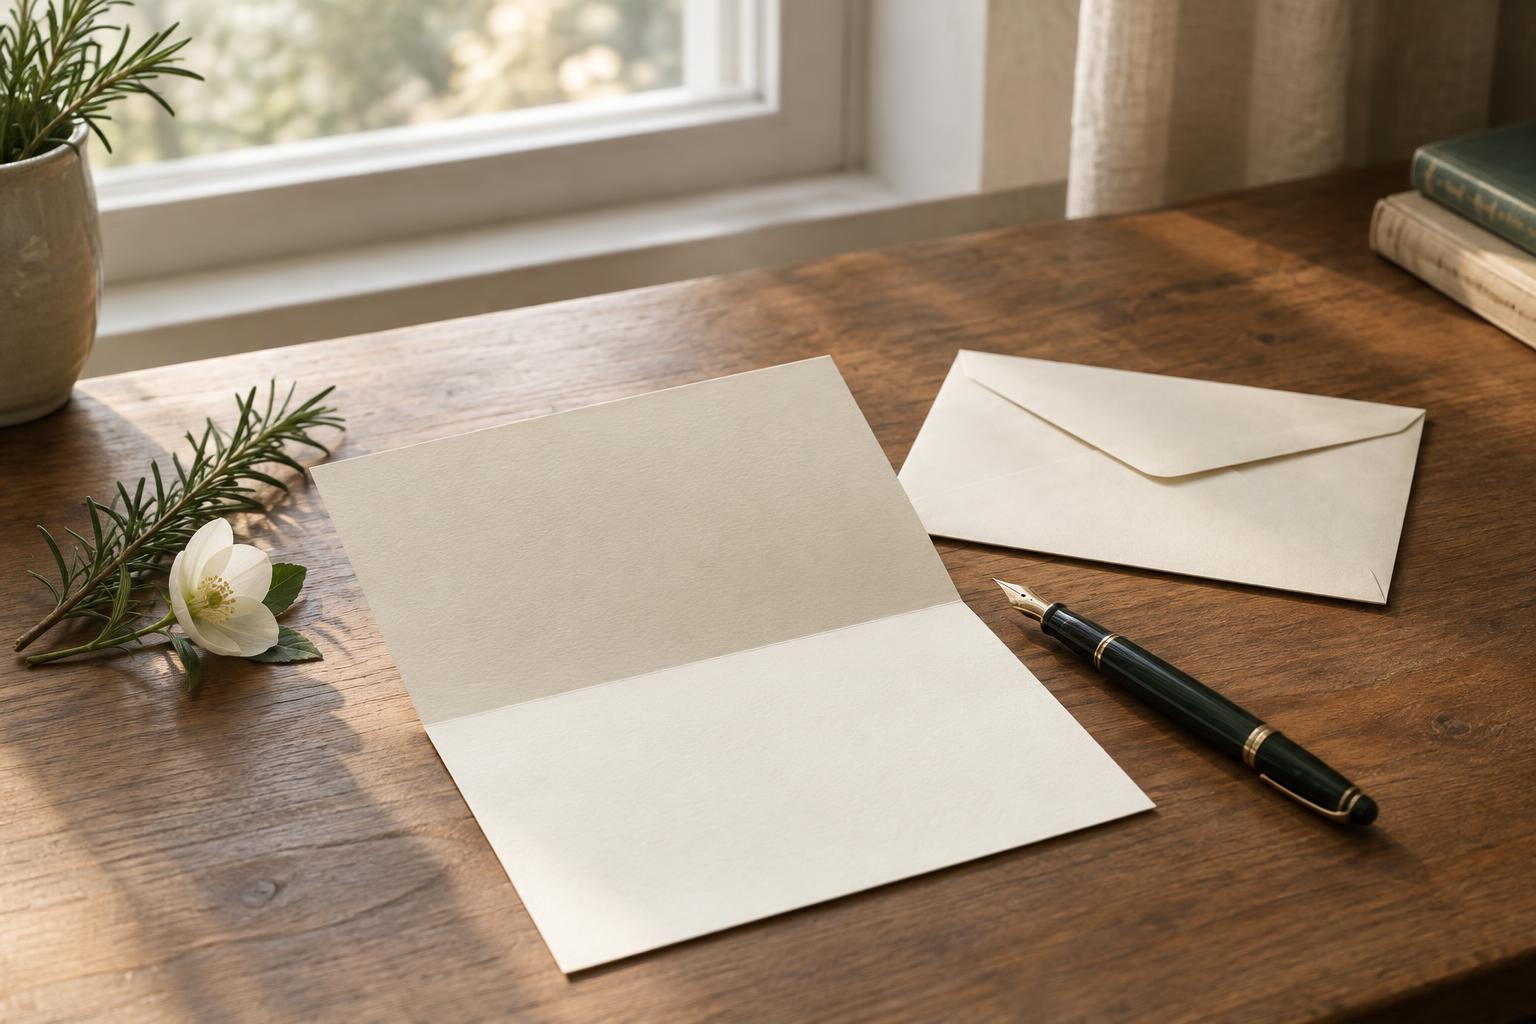
For an ordinary handwritten letter on a single sheet of A4 or US letter paper, a fold into three horizontal panels will usually fit a long, standard business-style envelope. Envelope sizes vary, though, so check the fit before making a firm crease. Hold the sheet upright, with the writing facing you, and compare its width with the long side of the envelope. The paper should slide in without its side edges bending.
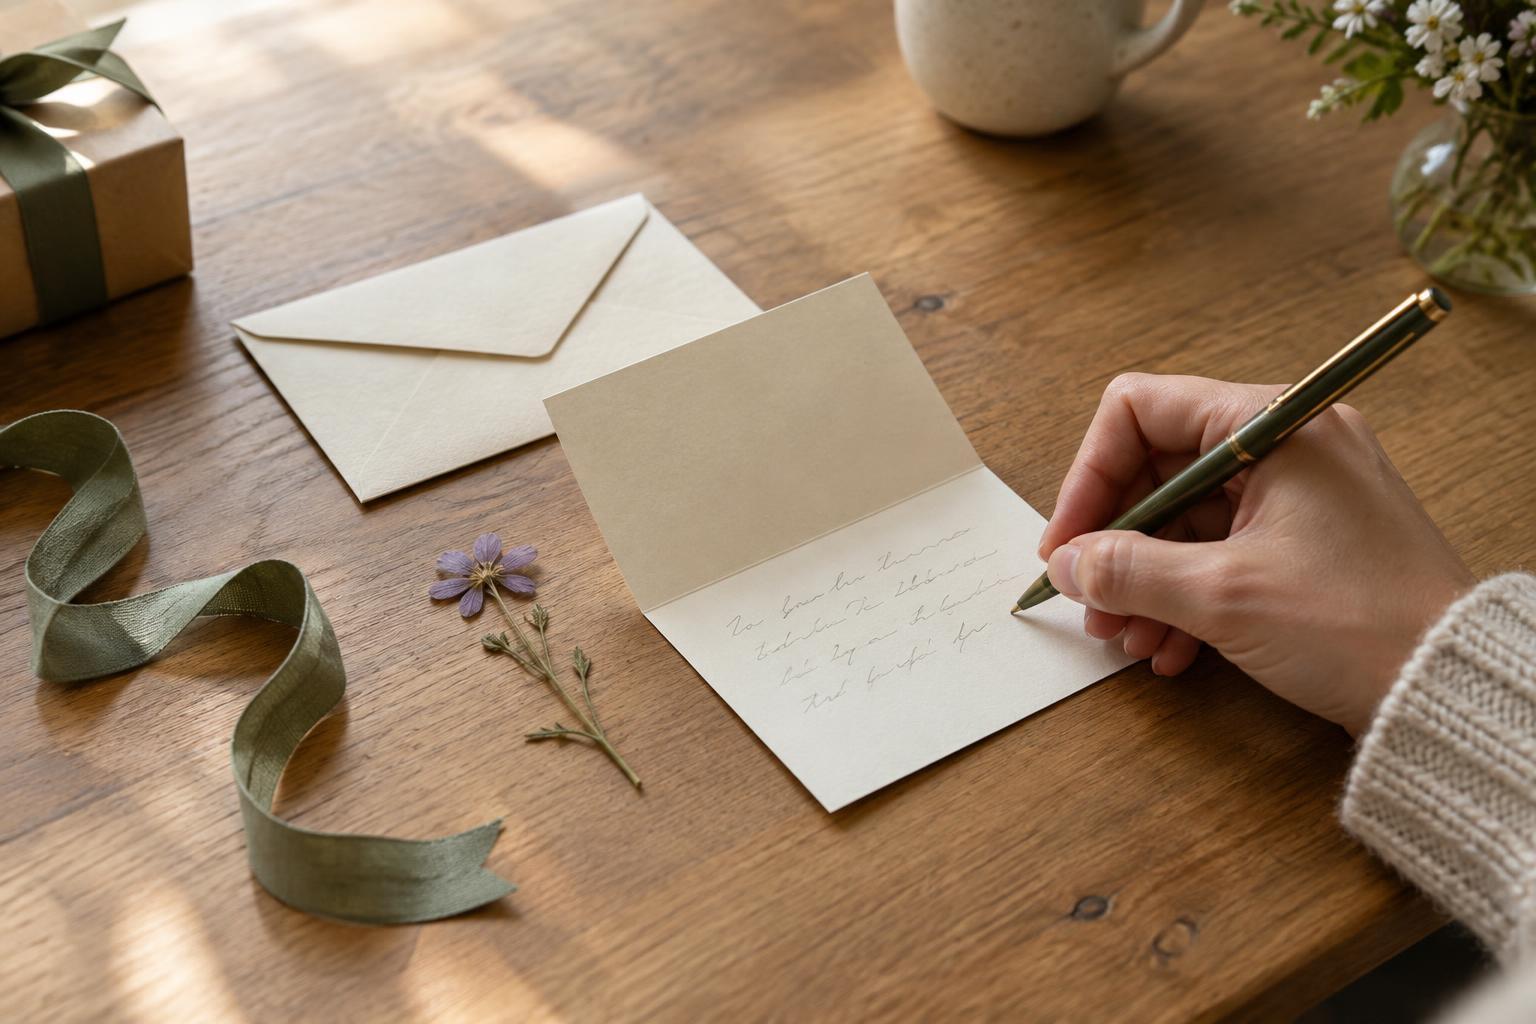
Set the envelope beside a clean, flat workspace. Let the ink dry completely, then smooth the page with your hand. If your letter has several sheets, stack them with their edges aligned and fold them together only if the result will not be too thick. Otherwise, fold each sheet at the same points and nest them carefully.
Make a simple three-part fold
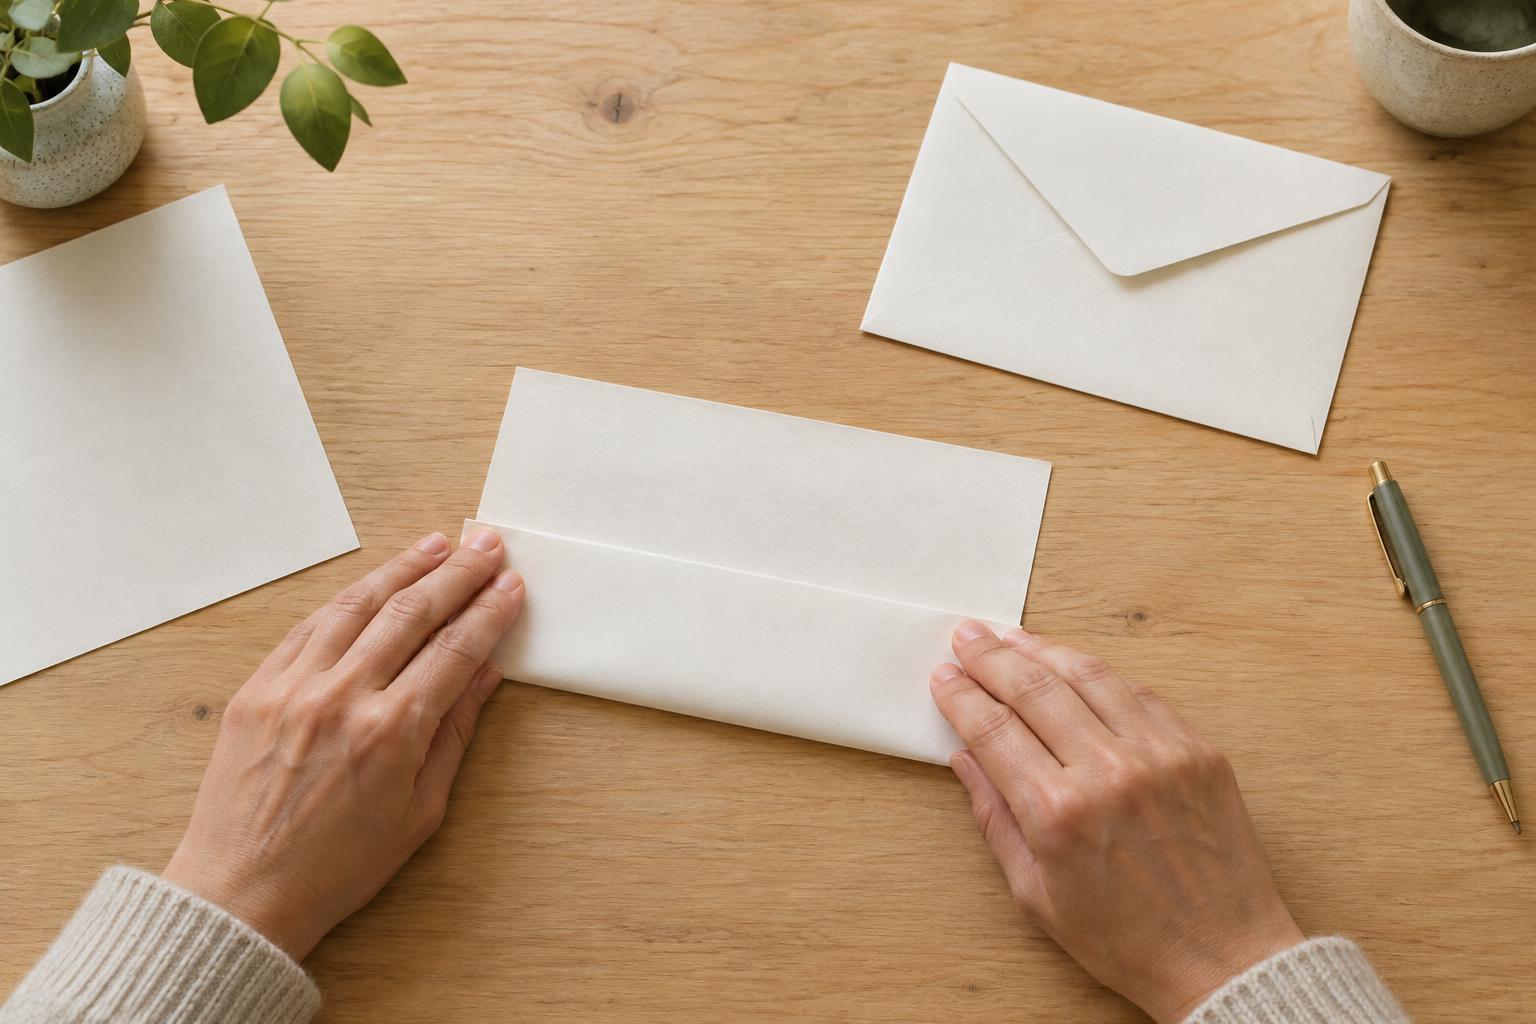
Lay the letter in portrait orientation with the writing facing up. Bring the bottom edge upward until it sits about two-thirds of the way up the page. Check that the left and right edges remain parallel, then press a crease across the lower fold. Next, bring the top portion down over the folded section. The finished letter should be roughly one-third of its original height, with the writing tucked inside.
You do not need to measure each third precisely. For a closer fit, make the first fold lightly and hold the partly folded sheet against the envelope before sharpening the crease. Leave a little room at the envelope’s short sides so the paper will not catch as you insert or remove it. Once the position looks right, run a fingertip or the side of your hand along each fold from the center outward.
Keep the edges straight and the creases clean
The easiest way to avoid a slanted fold is to align the paper’s side edges before pressing down. Hold the fold loosely at first and check both corners. If one side projects farther than the other, adjust it before making a crease. A flat desk or table gives you more control than folding the letter in your hands.
Use gentle, even pressure rather than repeatedly rubbing the same crease. For ordinary writing paper, a fingertip is usually enough; a clean ruler can help make a crisp line if you prefer. If the paper is textured or thick, press more carefully, since a forceful crease may look rough. A slightly soft fold is often better than a sharp fold that damages the page.
Place the letter in its envelope
Turn the folded letter so its long edge lines up with the envelope’s long opening, then slide it in without forcing it. If it catches, take it out and check whether the panels are uneven or the envelope is smaller than expected. Resist the urge to squeeze in a sheet that is too wide: it may wrinkle when the recipient pulls it out.
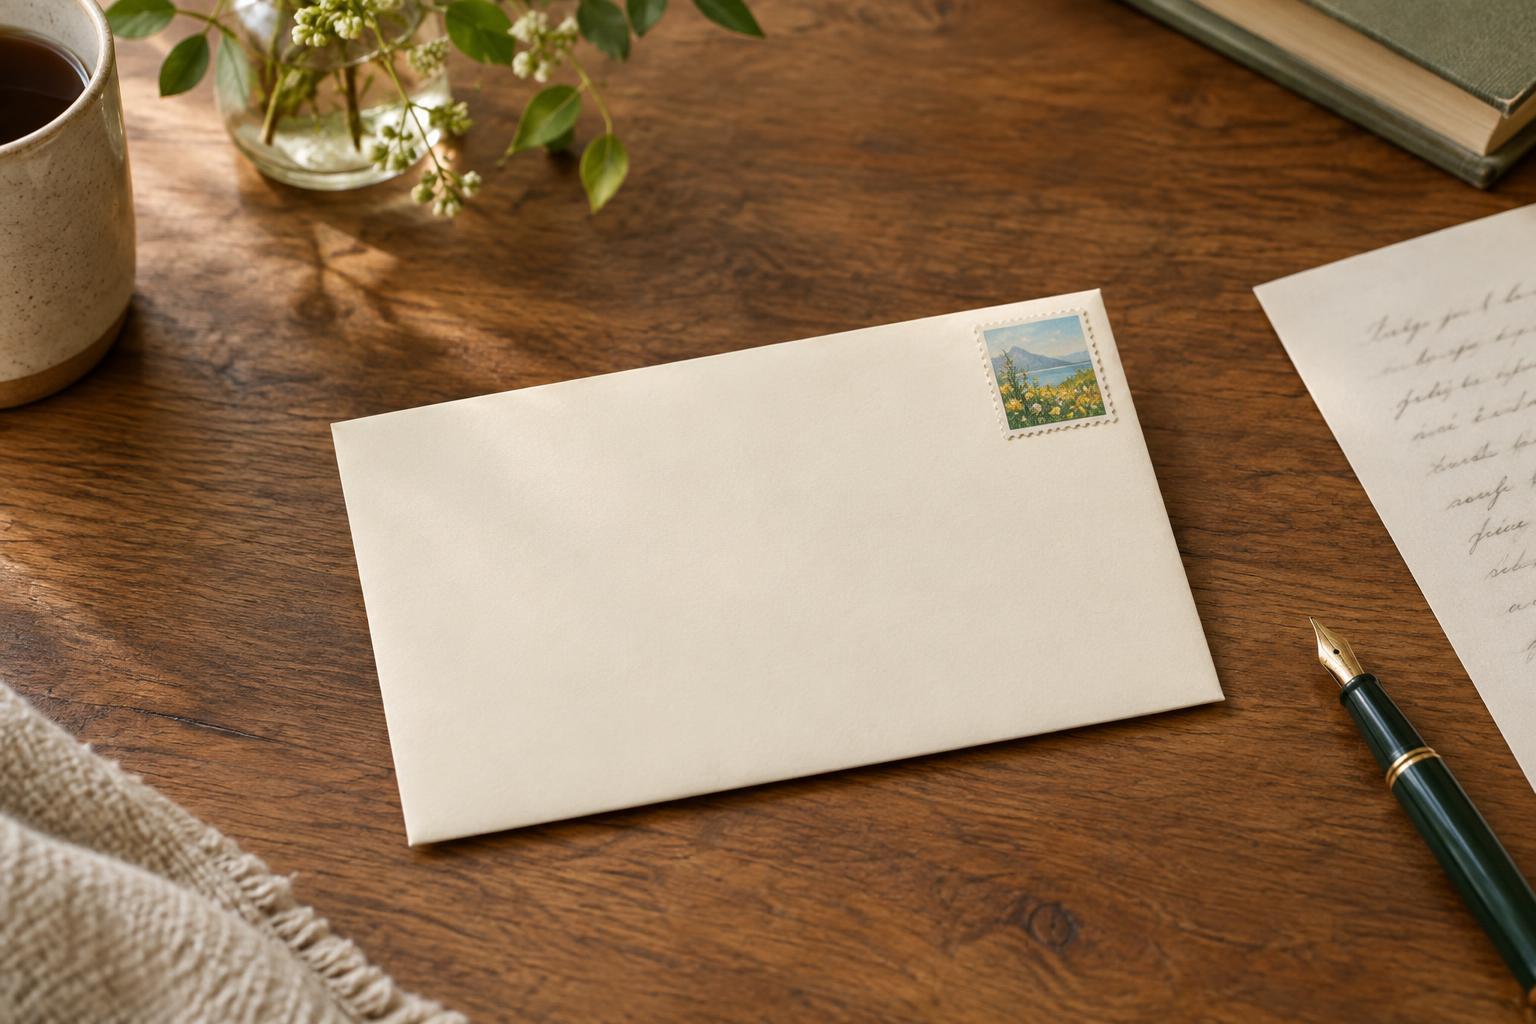
Before sealing, make sure any extra pages or small enclosures are included and that nothing is sticking to the adhesive flap. For a personal letter, consider how it will feel to open: a clean page, an uncrushed fold and an envelope that closes easily all help your message arrive looking cared for.
Adjust the fold when your letter is different
A short note on smaller stationery may need only one fold, while a square card may be best left flat in a matching envelope. If you are enclosing a photo or another item that should not be creased, choose an envelope large enough to hold it flat rather than folding it with the letter. Thick paper and multiple inserts may also need more space than a standard envelope provides.
There is no single correct fold for every letter. The useful test is simple: the writing stays protected, the edges sit neatly, and the contents can move in and out of the envelope without a struggle. A quick trial fold before pressing the creases can save you from starting over.