Start with the box and the pattern
A crisp box is the easiest shape to wrap neatly. If your gift is soft or uneven, consider placing it in a suitable box first. Smooth, firm sides give the paper a surface to follow and make it easier to keep stripes, grids and repeating motifs straight. Before cutting, look at the paper in the direction it will appear on the finished gift. Decide which side of the box should display the pattern most prominently.
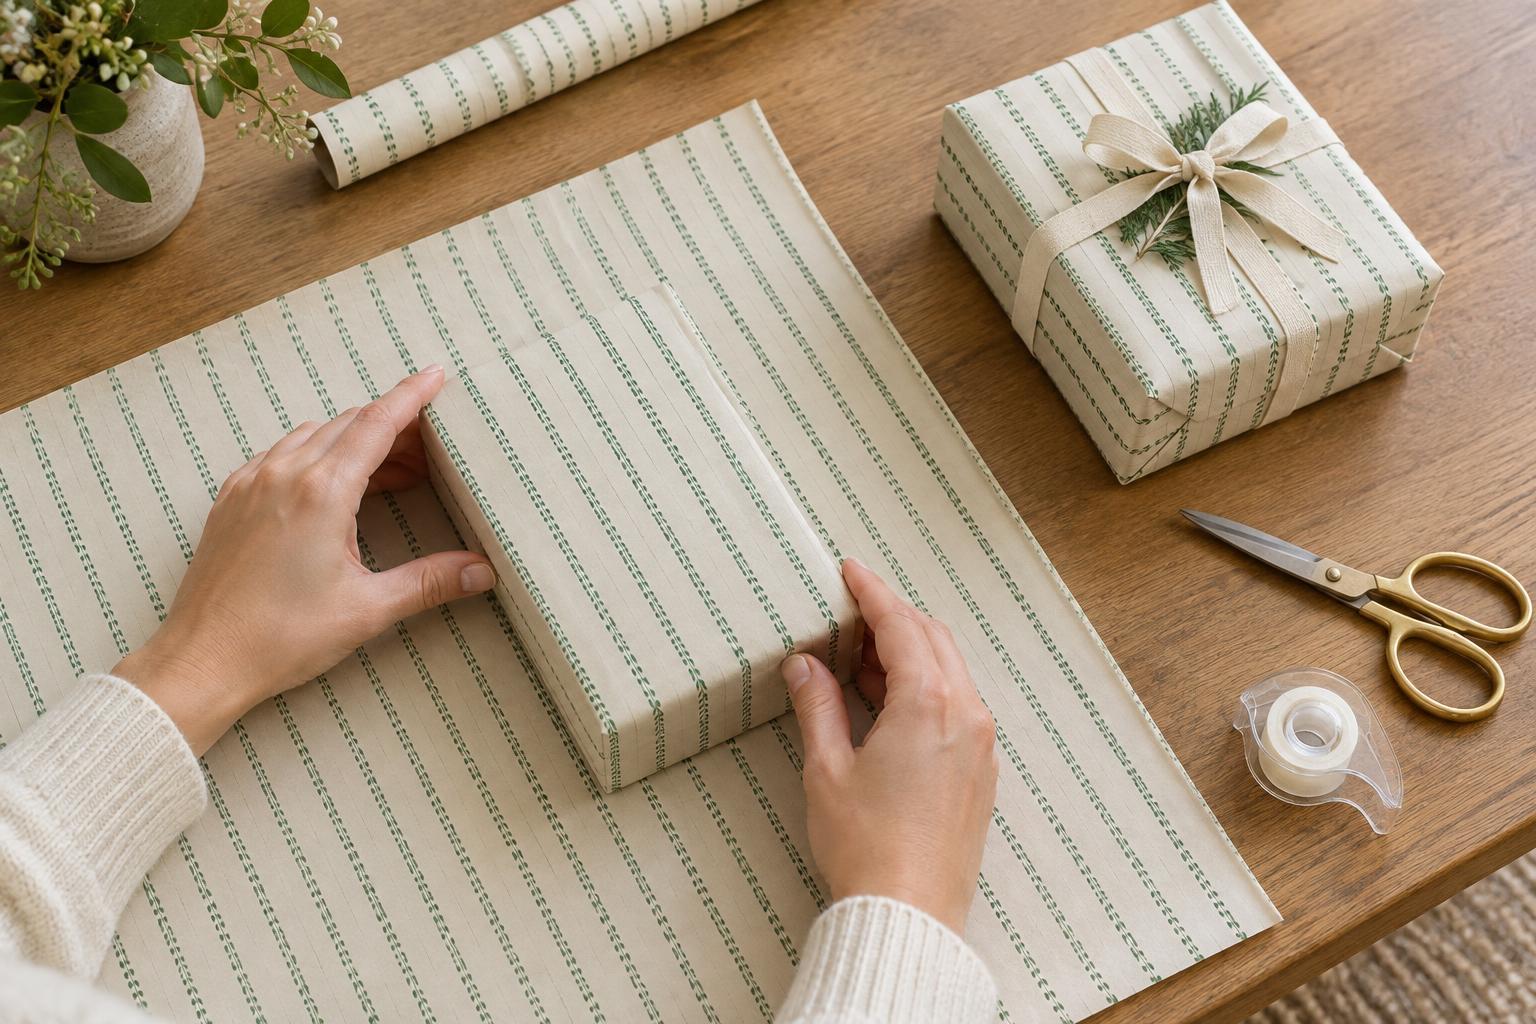
Set the box face down on the back of the paper, with its edges parallel to the lines or rows in the print. Then roll it across the paper once, without taping, to check where the design will land on the top, sides and ends. A quick trial can reveal an awkward half-motif or a stripe that looks crooked against the box. Shift the box slightly before you cut if another placement looks better.
Measure for enough paper, not too much
To size the main sheet, bring one long edge of the paper around the box, then bring the other edge over it. Allow enough overlap to secure the join, but avoid a broad double layer that may bunch up. At each short end, the paper should reach a little past the midpoint of the box’s depth. Too little leaves a gap; too much creates bulky folds that are difficult to flatten.
Cut with the printed lines as your guide when they are genuinely straight. If the design is irregular, use the edge of the box to help guide the cut instead. A straight cut makes a discreet seam easier, especially on paper with stripes or borders. If you are using a large sheet, trimming it to a manageable size also makes it less likely to pull out of alignment while you wrap.
Keep the design straight as you wrap
Return the box to your chosen position, face down. Bring the first long edge of paper snugly over the box and secure it on what will be the underside. Pull the second edge across firmly enough to smooth the paper, but not so tightly that the box bends or the sheet tears. Check the top and side edges before fixing the second edge. If a stripe has drifted, lift the paper and adjust it rather than trying to tug a taped seam into place.
For a particularly visible pattern, fold a narrow hem along the second edge before taping it down. The fold gives the join a clean, straight boundary. Align any stripes or repeating shapes as closely as the paper allows, then secure the join with tape underneath. Some prints will not match perfectly around a box, particularly when the repeat is large. Keeping the top panel straight matters more than forcing a match on every side.
Tuck seams away and fold the ends neatly
The easiest seam to hide is one placed on the bottom of the gift. If the paper has a clear front and back, plan the wrap so the overlap lands on the less visible face. You can also position the join near an edge rather than through the centre of a prominent motif, provided there is enough paper to hold it securely. Small pieces of tape are often less noticeable than one long strip stretched across the seam.
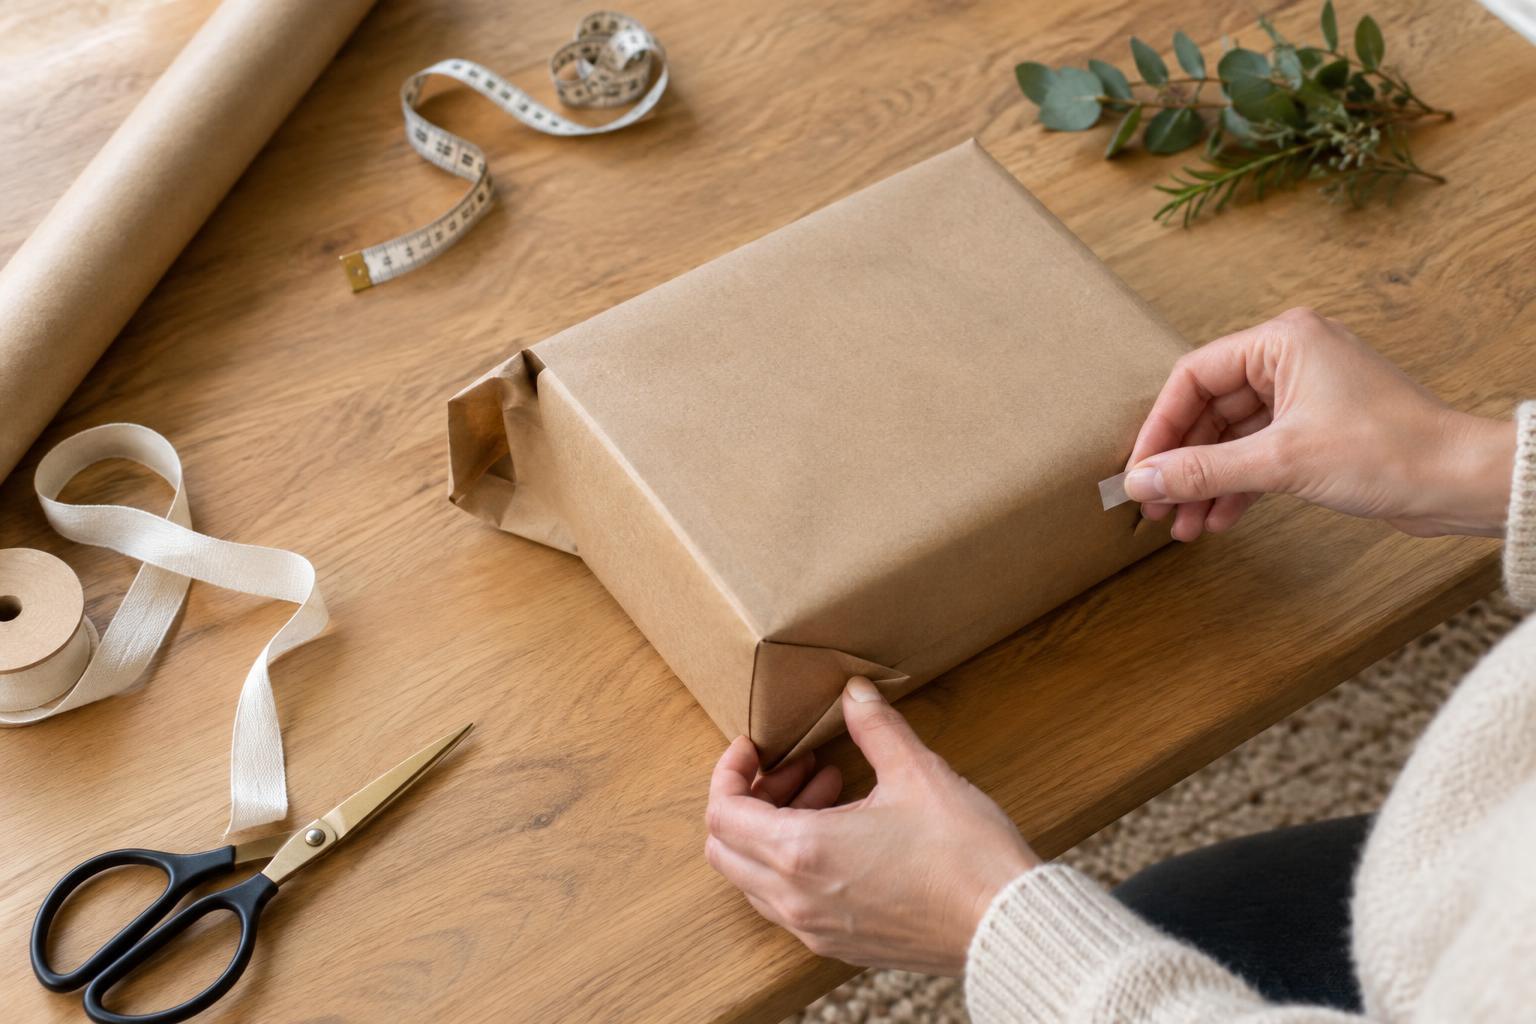
To finish an end, press the paper at the top edge of the box down against the end face. Crease the angled flaps at the sides, fold them inward, then bring the lower flap up over them. Repeat at the other end, checking that the folds sit flat rather than twisting the pattern. Run a finger along each box edge to sharpen the creases. If one end looks bulky, reopen it and trim a little excess paper before folding again.
Use finishing touches with intention
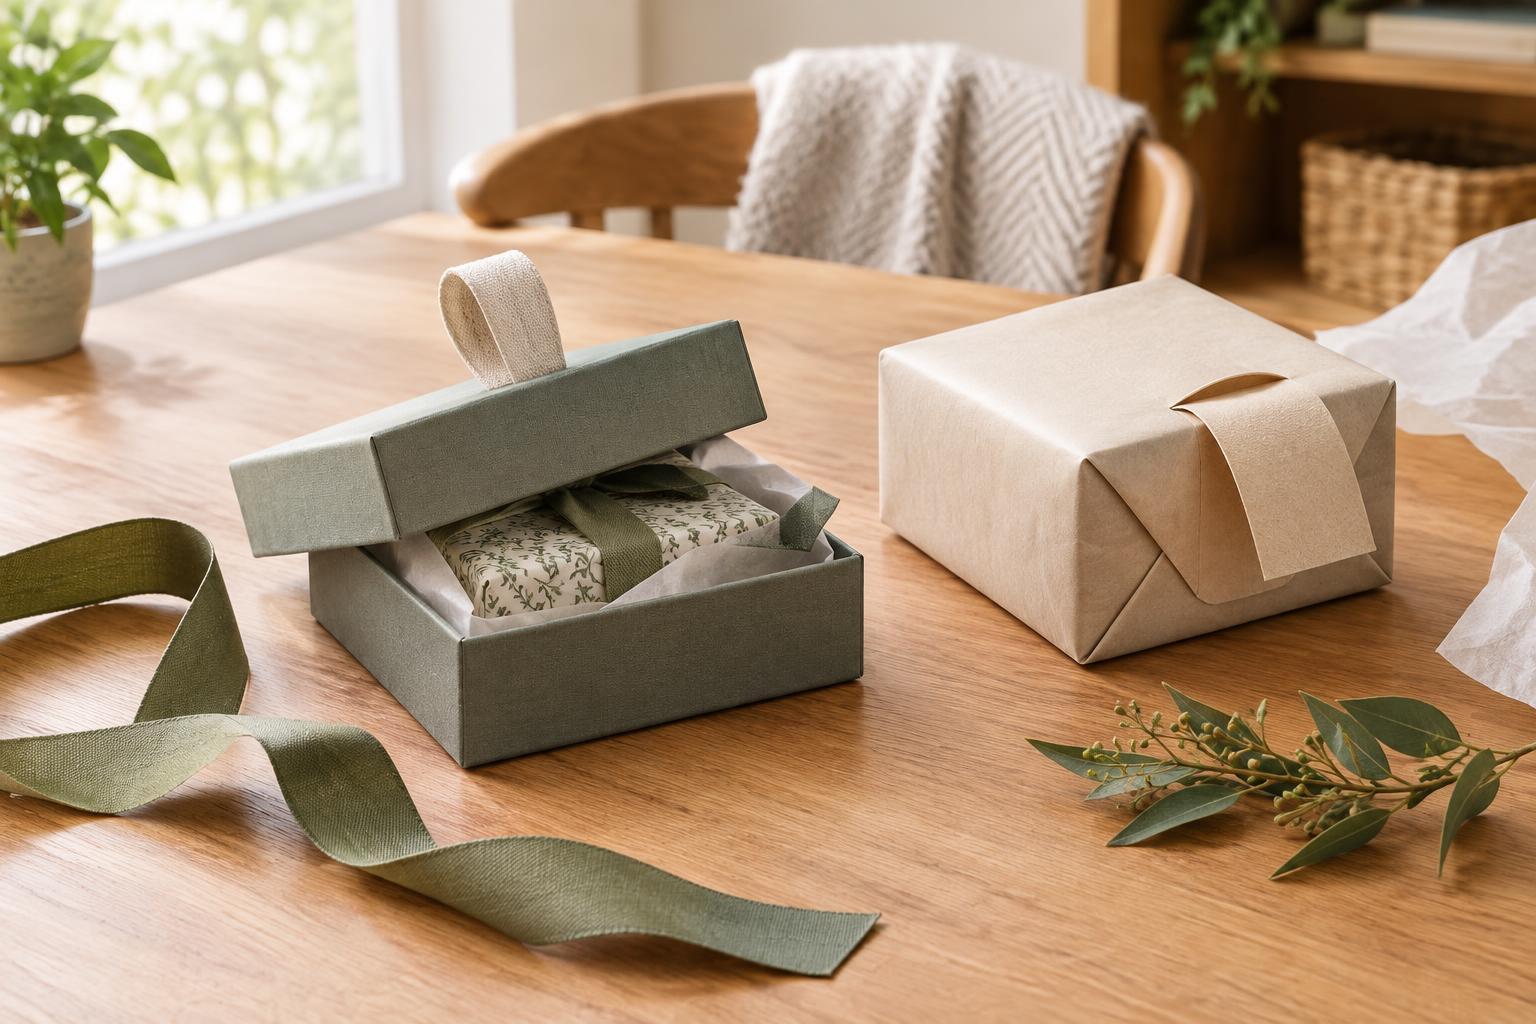
Ribbon, twine or a paper band can draw the eye to the centre of a gift, but they work best after the wrap itself is secure. A band can cover a stubborn join on a small parcel, while a ribbon can cross a section where a repeating print does not quite meet. Choose a placement that complements the pattern instead of covering it at random.
Before adding a tag, turn the gift over and inspect it from each side. Smooth any loose areas and check that the end flaps are firmly attached. A neatly wrapped parcel does not need every motif to line up perfectly. Straight top edges, flat corners and a seam kept out of the spotlight do most of the work.