Choose a cloth that suits the gift
Fabric wrapping works especially well for a book, a small box or another gift with a shape that is easy to hold. A square scarf, cloth napkin or piece of reusable fabric can all work. Choose material that bends readily but is not so slippery that the knot loosens as soon as you lift it. If the fabric is thin enough to show what is underneath, consider placing the gift in a plain box first.
To check the size, set the gift in the middle of the cloth and lift each corner toward the center. All four corners should reach across the gift, and the two corners you plan to tie should have enough extra length to make a comfortable knot. If they barely touch, use a larger cloth. Smooth sharp edges or place delicate items in a protective box before wrapping; fabric alone offers little cushioning.
Position the gift and fold the first two corners
Lay the fabric flat with its intended outside face down. Turn the square so it looks like a diamond, with a corner pointing toward you. Place the gift in the center, leaving roughly equal amounts of fabric on each side. For a rectangular box, try turning it slightly until the corners of the cloth can travel across it without pulling tight.
Bring the corner nearest you up and over the gift. Smooth the fabric across the top, then fold any loose edge inward for a tidy line. Bring the opposite corner down over it. The two layers should cover the gift without stretching. If a long corner extends well past the box, fold its tip back under itself. Hold these folds in place while you prepare the remaining corners. They do not need to look perfectly symmetrical; the final knot will help gather the wrap.
Tie one simple knot on top
Take the left and right corners and bring them toward each other over the center of the gift. As you lift them, tuck in any fabric that sticks out along the sides of the box. Cross one corner over the other, pass it through the opening beneath, and pull both ends gently to form the first part of the knot. Then cross the ends in the opposite direction and pass one through again. This second turn helps the knot sit flatter than repeating the same crossing.
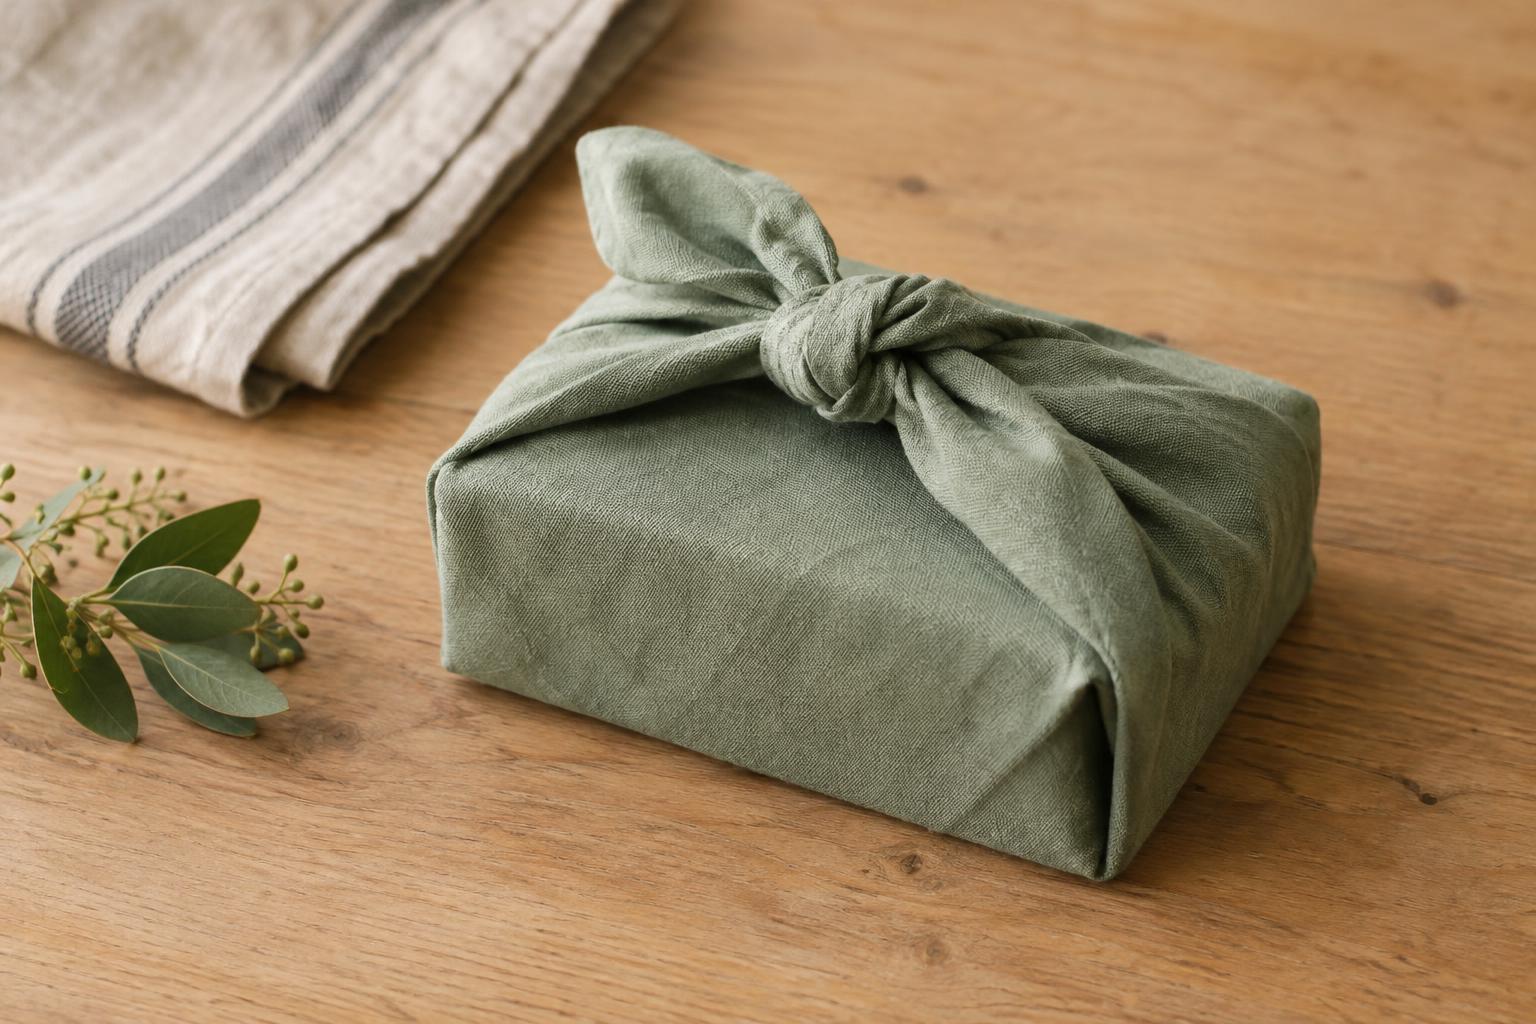
Tighten a little at a time, adjusting the cloth around the gift as you go. The wrap should feel snug enough to stay put when lifted, but it should not press hard on a fragile box or its contents. Spread the two loose ends outward like small leaves, or tuck them beneath the knot for a simpler finish.
Adjust the wrap for different shapes
A firm, flat box is the easiest place to start, but the same approach can work for other shapes. For a soft item such as a folded scarf, gather the fabric around it before tying so the contents form a compact bundle. For a round tin, smooth the cloth upward in small pleats rather than trying to make sharp corners. If the gift rolls or shifts while you tie, put it in a box or ask someone to hold it steady.
If the knot feels bulky, try a thinner cloth or a larger square that gives you longer, easier-to-handle ends. If it slides loose, choose fabric with a little more texture and retie it without pulling aggressively. Before giving the gift, lift it by supporting the base rather than by the knot alone, especially if the contents are heavy or breakable.
Make the presentation personal
The cloth can become part of the gesture. A napkin might suit a food-related gift, while a scarf or bandana can be chosen with the recipient’s tastes in mind. You can also reuse a piece of fabric you already have, provided it is clean and in good condition. If you hope the recipient will use it again, choose a size and material that make that easy.
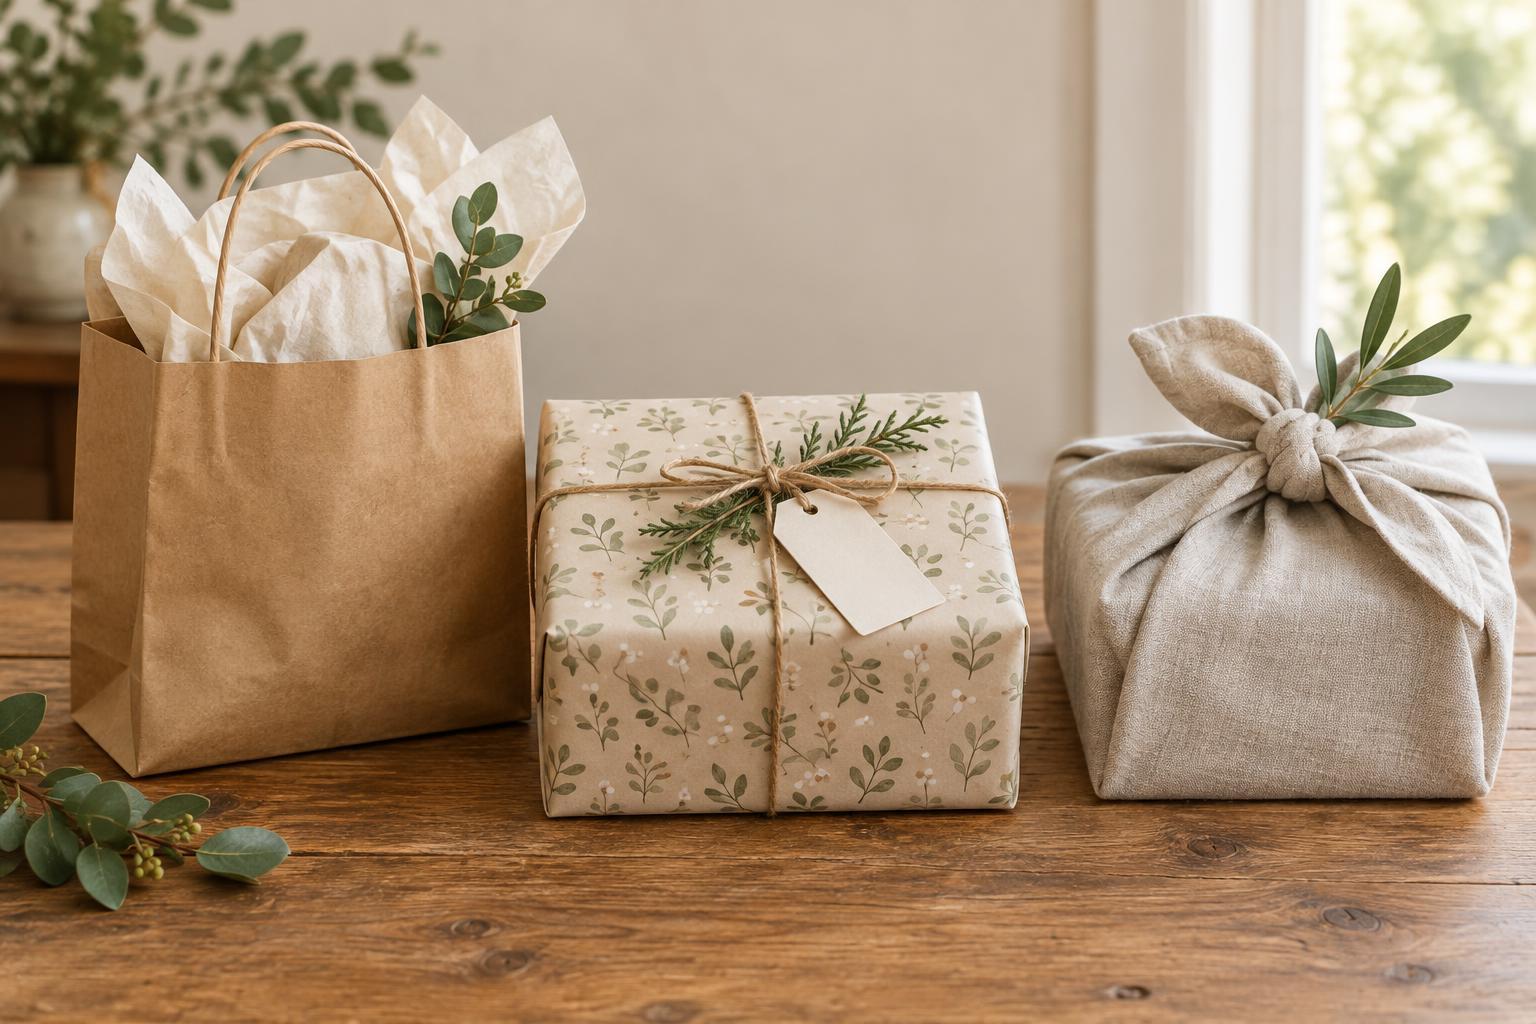
Slip a small handwritten note beneath the knot, leaving enough of it visible to be found. For a finishing touch, tuck in a lightweight paper tag or a sprig of dried greenery, taking care not to snag delicate fabric. The appeal of this method is its simplicity: four corners, a few adjustments and a knot the recipient can untie without tearing through layers of wrapping.